Verifying the installation
This chapter ensures cityEHR is correctly installed and accessible. It guides users through logging in with default credentials, building the default application, and navigating the Dashboard to confirm the setup. Additional steps include reloading the default application, enabling debug mode to explore cityEHR's underlying structures, and managing session timeouts.Log On
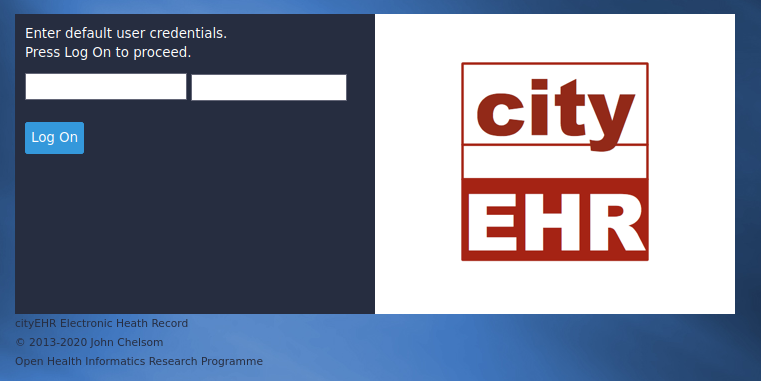
If cityEHR is installed on Apache Tomcat, you can access the log-on page using the Firefox web browser. On a local machine, use the URL: http://localhost:8080/cityehr. If running on a remote server, replace 'localhost' with your server's IP address.
Note that cityEHR 1.7 must be accessed using Firefox only (IE 11, Edge, Chrome and Safari will be supported from version 2.0 onwards).
The base cityEHR installation has a single default user set up with the credentials;
username: admin
password: password
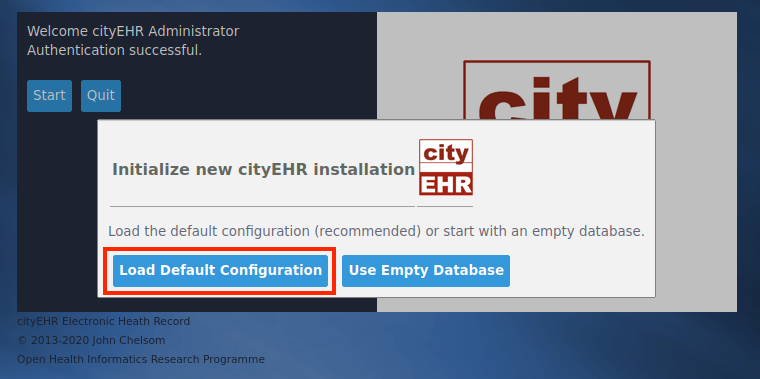
Upon your first log-on, cityEHR prompts you to build a default application. This process generates an example information model and configuration. Choose 'Build Default Application' to proceed. Alternatively, you may start with an empty database, but note that some features (e.g., Dashboard elements) may not display without default information models.
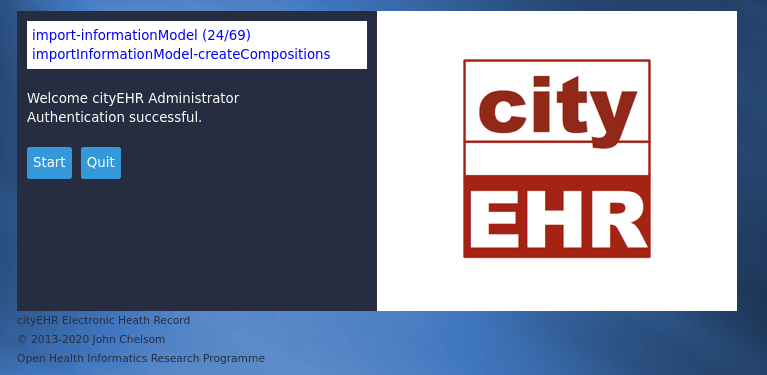
cityEHR will now run through a sequence of steps to build the default application; while this is in progress the screen will look like the one displayed in the Figure below. It take a minute or so for this process to complete, so you will need to wait while before continuing.
After the default application has been built during your first log-on, and for every other time you log on, the screen will be as shown in the Figure below, after you have authenticated:
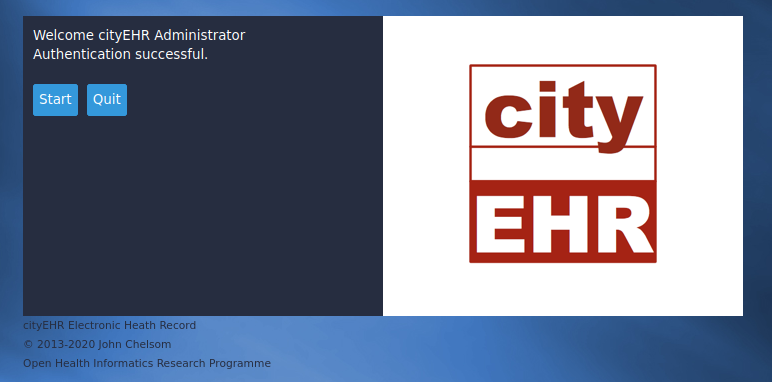
Press the Start button to move to the default home page, which is pre-configured to be the dashboard page, as shown in the figure below
The Dashboard shows a summary of the overall status of the cityEHR application, which ships by default with the base installation. There is one user registered (the 'admin' user you logged in as) and no patients (so the total patients is zero, there are no clinical documents recorded and no documents in progress).
Note: The number of Information Models shown in the dashboard. If this number is zero (0) then the default application was not loaded properly when you ran cityEHR for the first time (probably because you selected to "Use Empty Database").
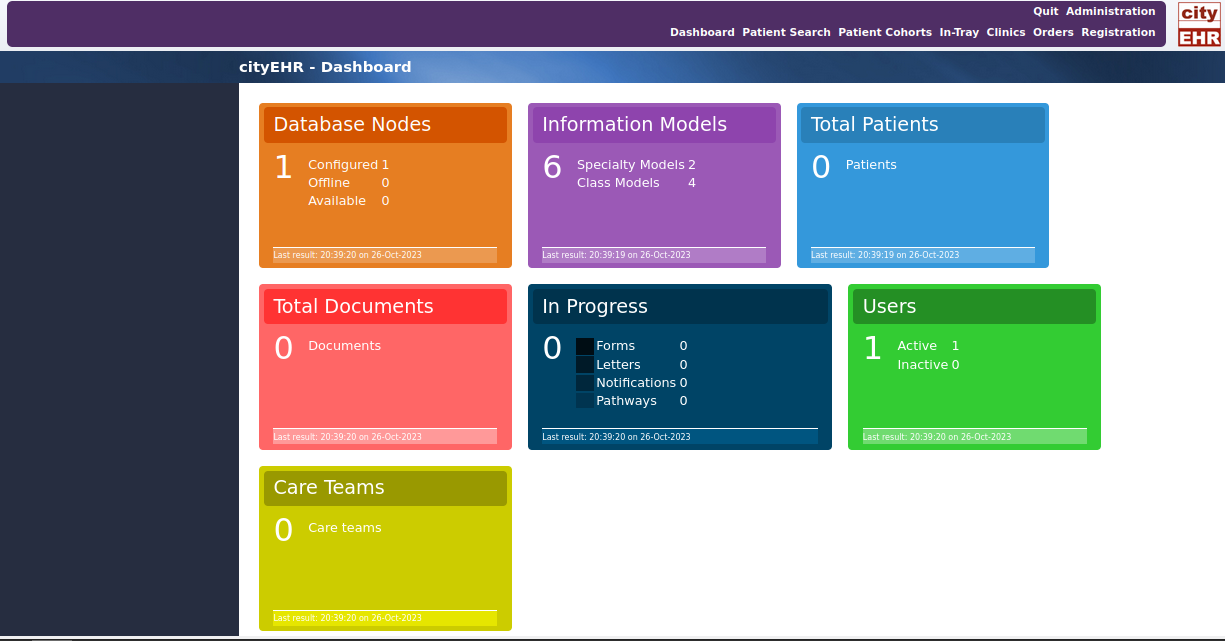
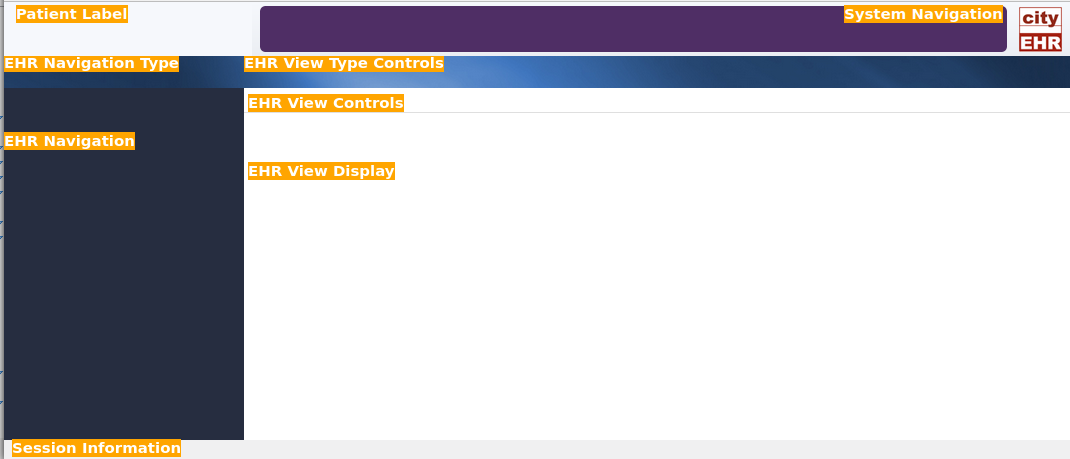
The Dashboard is your first glimpse of the pages in cityEHR, which can either be non-patient (like the Dashboard), cross-patient (ex. Patient Search page) or patient specific (view of the record for a patient, as identified in the Patient Label)
Whichever type, the general layout of all pages in the cityEHR system is the same, as shown in the figure below.
Reloading the Default Application
The default application can be reloaded from the information models shipped with the cityEHR system. You may need to do this if you selected to start with an empty database the first time you ran cityEHR (in which case the Dashboard will show the number of information models as 0) or if you changed the models and want to restore to the default.
To reload the default application;
-
Navigate to Administration in the system menu.
-
Select Information Model from the left navigation menu.
-
Click Reload Shipped Models for This Application in the top-right corner.
Note: If you are reloading the models because you started with an empty database, you will not see the summary of Information Models.
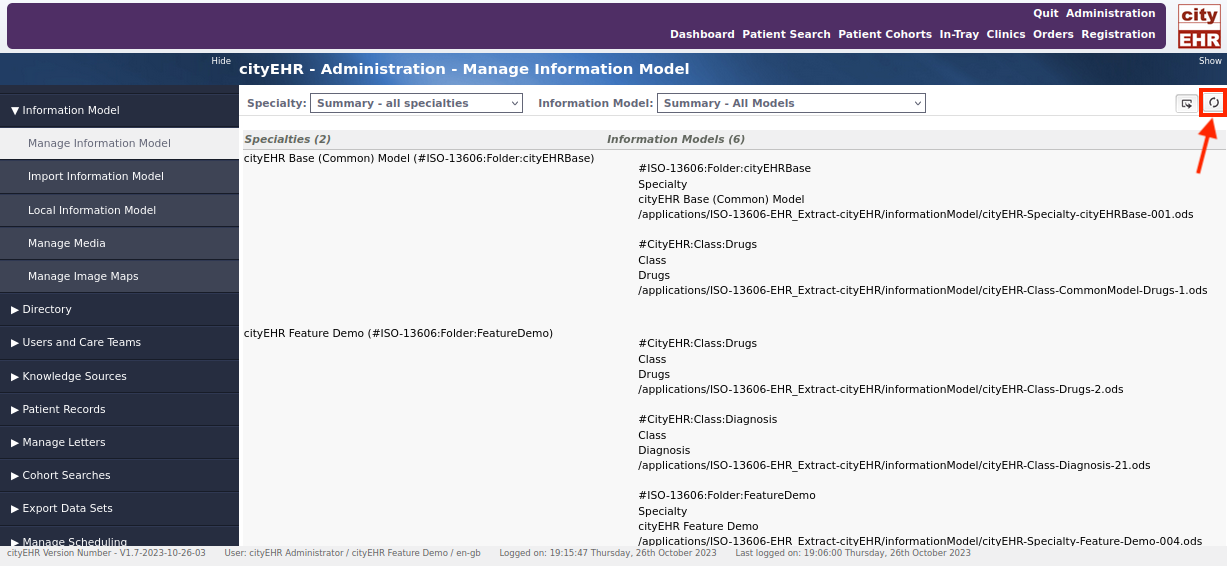
Information Model Summary -
In the Confirmation Dialog, select to Reload.
-
Now wait while the models are reloaded (which may take a few minutes) - progress is displayed in the main view.
Once completed, the progress display will be cleared and you should see a summary of the models as shown in the Figure above.
Running in Debug Mode
cityEHR features a debug mode that allows the user access to additional features that expose some of the underlying information structures such as HL7 CDA documents. Debug mode can be activated in two ways:
Single session:
-
Add ?mode=debug to the URL (e.g., http://localhost:8080/cityehr/?mode=debug).
Persistent Setting:
-
Navigate to Administration in the system menu.
-
Select System Parameters from the left navigation menu.
-
Enable Debug Mode by checking the corresponding box and saving changes.
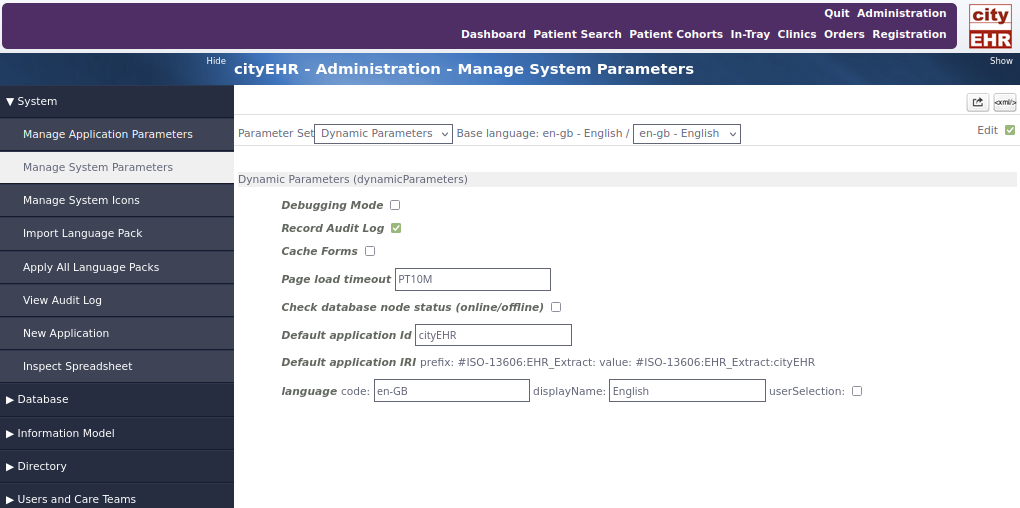
Edit system parameters to set Debug Mode
When operating in debug mode, cityEHR displays some additional action buttons and selections that allow you to explore the XML structures that underlie the configuration and clinical content (HL7 CDA).
You can now restart a new session in debug mode;
-
Press the Quit button in the system navigation.
-
Enter your credentials (admin / password) as usual and you should see an additional selection drop-down which you can use to view various cityEHR configuration parameters.
Note: the banner informing you that cityEHR will start in debug mode.
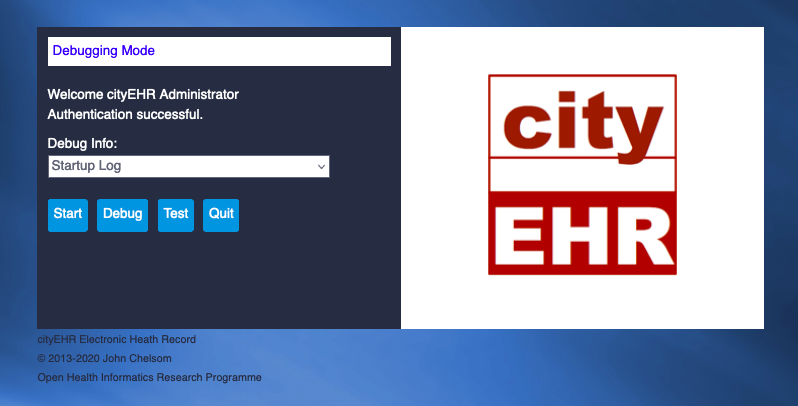
cityEHR start-up in Debugging mode -
These are all represented as XML, so you can view directly in the system or select Download and view in a text editor, XML editor or any web browser.
On the Sign On page, as shown in the Figure above, various of the internal XML instances, built during the log on process, are available to view by selecting in the Debug Info drop-down and then pressing the Debug button.
Features of Debugging mode;
-
On patient-specific data input pages (Forms, Letters, etc) pressing the XML button within the view controls will bring up a dialog box with a listing of the current HL7 CDA document associated with the data input form. This dialog also has a button to Download the HL7 CDA XML.
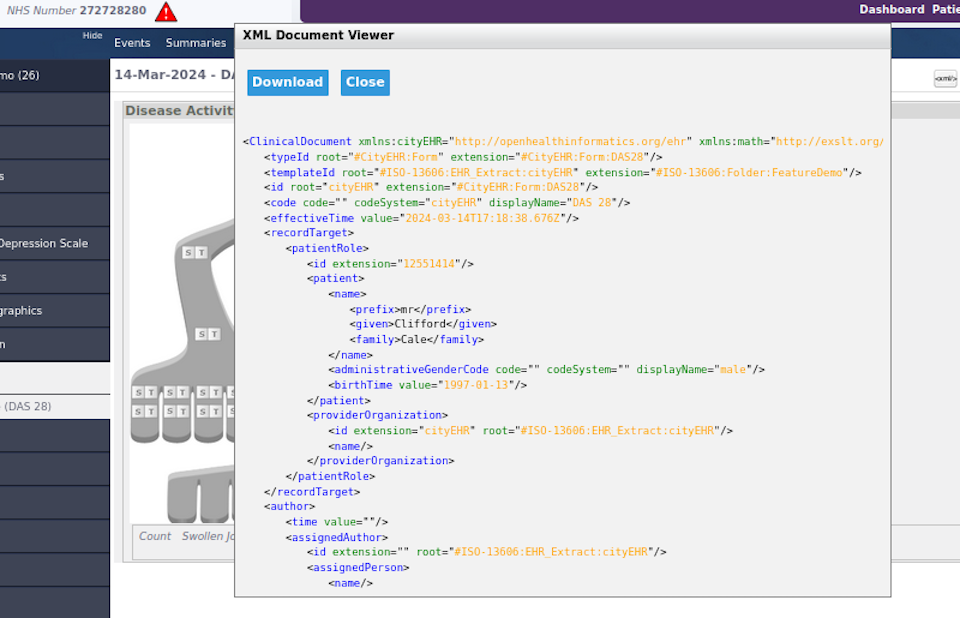
XML viewer open for DAS 28 Form -
On patient-specific data input pages are check boxes within the view controls to Display ISO 13606 structure.
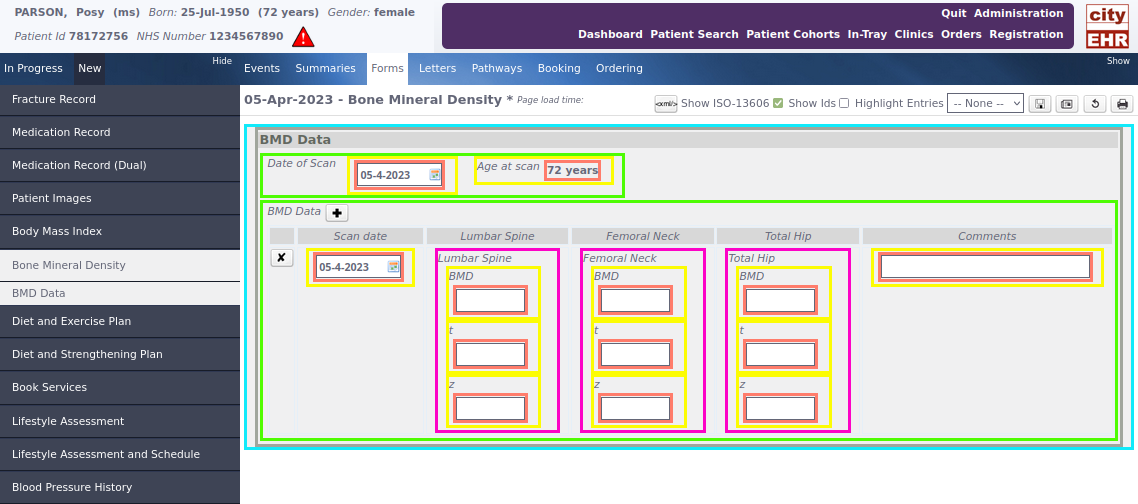
Showing ISO 13606 Structure in Debug Mode -
View the Identifiers for the ISO 13606 components on the form by checking the Show Ids box within the view controls.
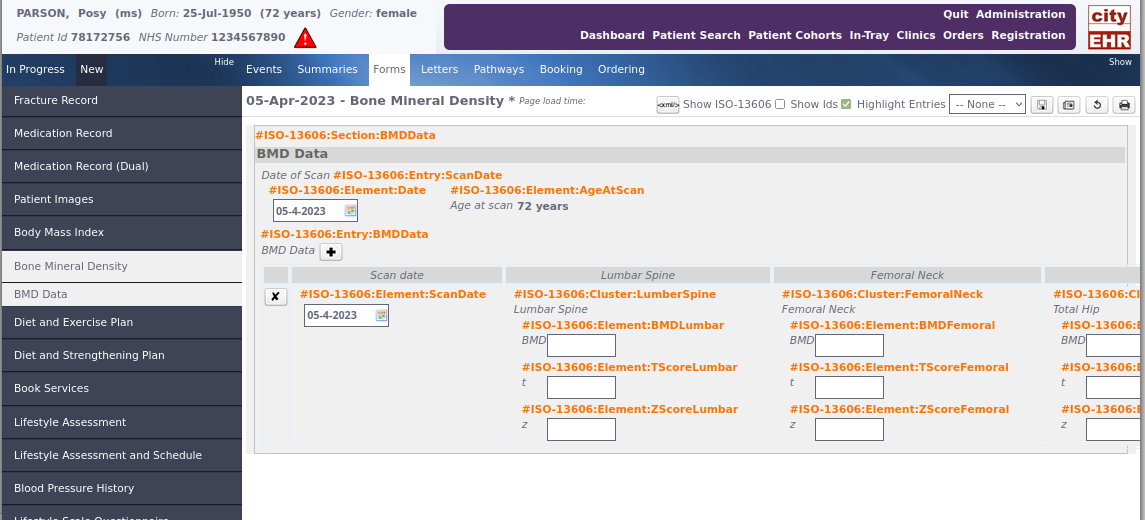
Showing ISO 13606 Component Ids in Debug Mode
Session Time Out
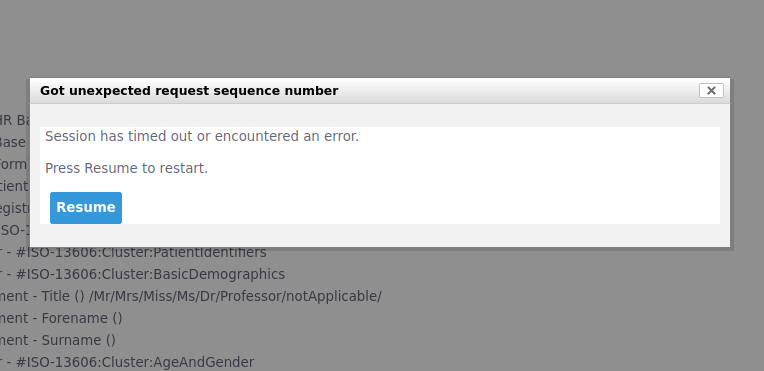
The cityEHR session is set to time out after a period on inactivity – this is controlled by the underlying session management of the Tomcat Application Server. If such a timeout occurs you will see an error dialogue which allows you to restart the application.
In addition, there is a session page load time limit which restricts the ability to refresh pages using the browser reload current page button. This limit is set by default at 10 minutes, but can be changed in the Admin page (System Parameters) if necessary. A change from the duration P10M (10 minutes) to PT1M (1 minute) is shown in the figure below.

If the browser reload page button is pressed within this time limit, then the page will reload as requested; outside the time limit the session will simply return to the sign on page. This means that it is not possible to copy and paste the URL of a cityEHR session or to bookmark a page (the URL will be invalid once the session page load time limit has expired).
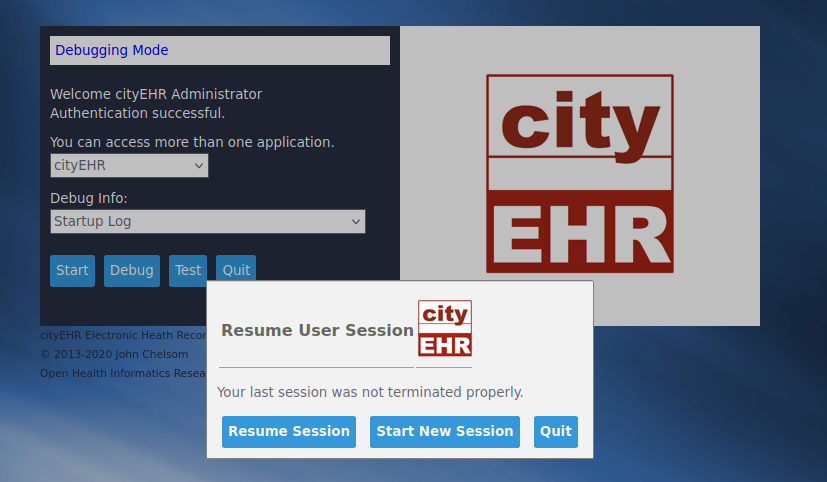
Logging in after a session has expired (i.e. a session that was not Quit by the user) will prompt for the session to be resumed at the point the previous session timed out or was aborted.
Download User Resources
Throughout this Quick Start Guide, some features will require resources such as sample patient records or information models. These resources are included with cityEHR and can be downloaded for your use.
You can access and download these resources from the Administration page. To do this:
-
Click the Administration button in the System Navigation menu (top right of the page) to open the Administration page.
-
In the left-hand menu on the Administration page, select Manage System Parameters under the System menu.
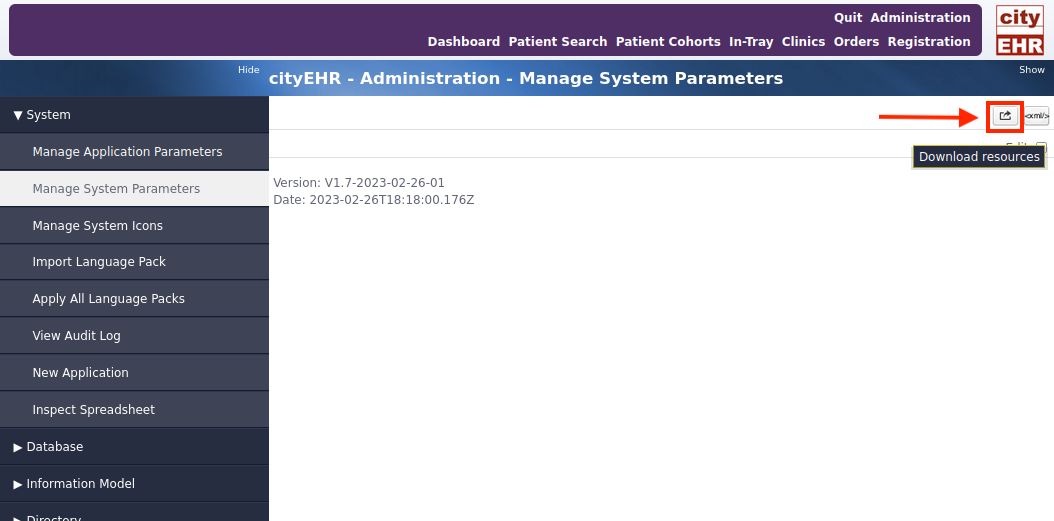
Download User Resources from Administration Page -
At the top right of this view, click the Download Resources button as shown in the figure below.
-
A zip file containing the resources will download to your browser. Depending on your browser setup, this file will be saved in your default Downloads folder.
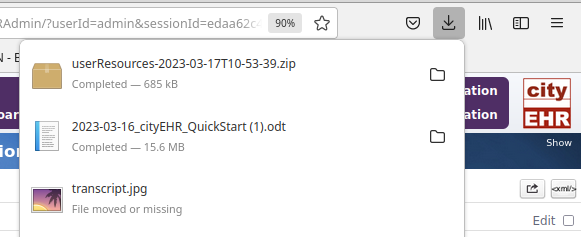
Zip Archive of User Resources Downloaded to Browser -
Open the zip file to access the folders and files included as User Resources. These resources will be needed at various points throughout the Quick Start Guide.
-
The complete set of resources should resemble the list shown in the figure below. (This example uses the Linux Archive Manager; your interface may vary depending on your system's zip file handling settings.)
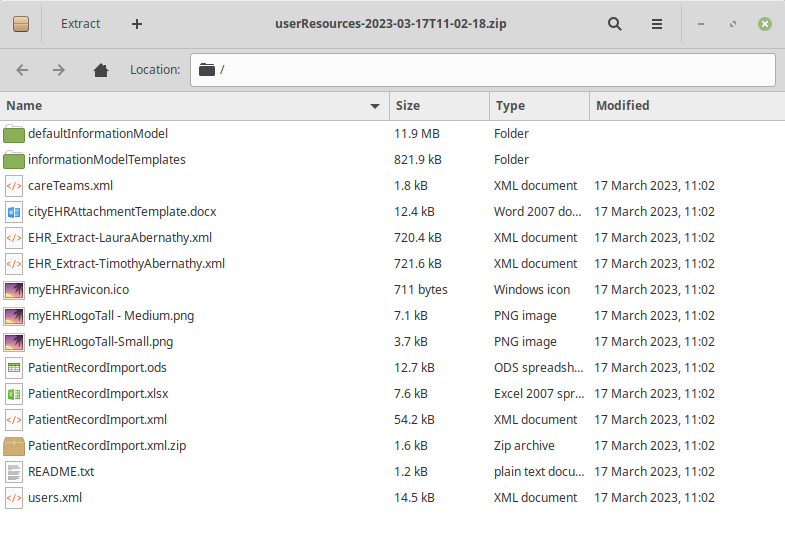
User Resources Zip Archive