Configuring a Runtime Application
There are two types of applications you can create. You can either create a new one from scratch, or one that is shipped with cityEHR (like Elfin, Elfin2, or Ponseti). Instructions for making a New Application can be found in Section 13.1, and instructions for making an application that is shipped can be found in Section 13.2Creating Your Own cityEHR Application – New Application
These instructions assume you are making an application with the identifier myEHR. Note that this identifier can contain upper/lower case characters and digits but no spaces.
-
Navigate to cityEHR Log-in Page
-
Enter user credentials. If you are starting from a blank database, the admin page will take a while to load. For this initial log-on, you will have to authenticate with username: user and password: password. This log-on may take some time as the system builds the application. Your screen may look like this:
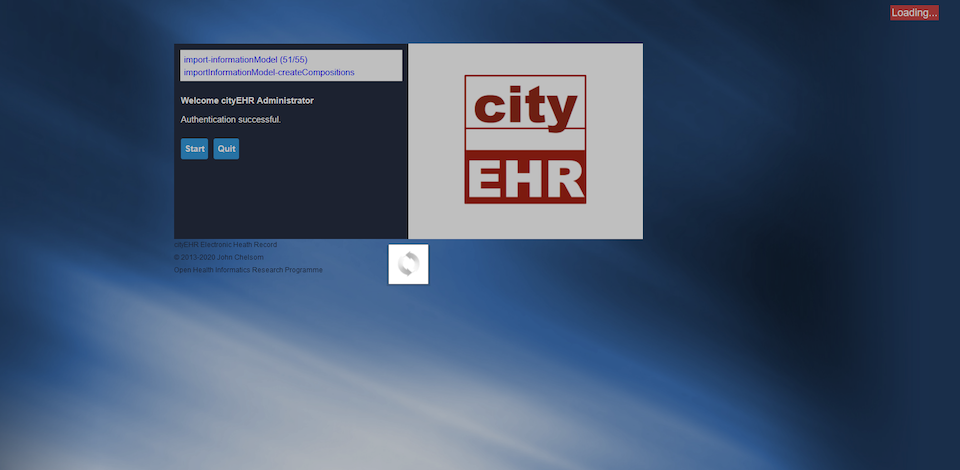
cityEHR log on page loading -
Click "Start"

cityEHR log on page start up button -
Navigate to the Administration Page at the top right of the screen next to “Quit”. Click “Administration”.
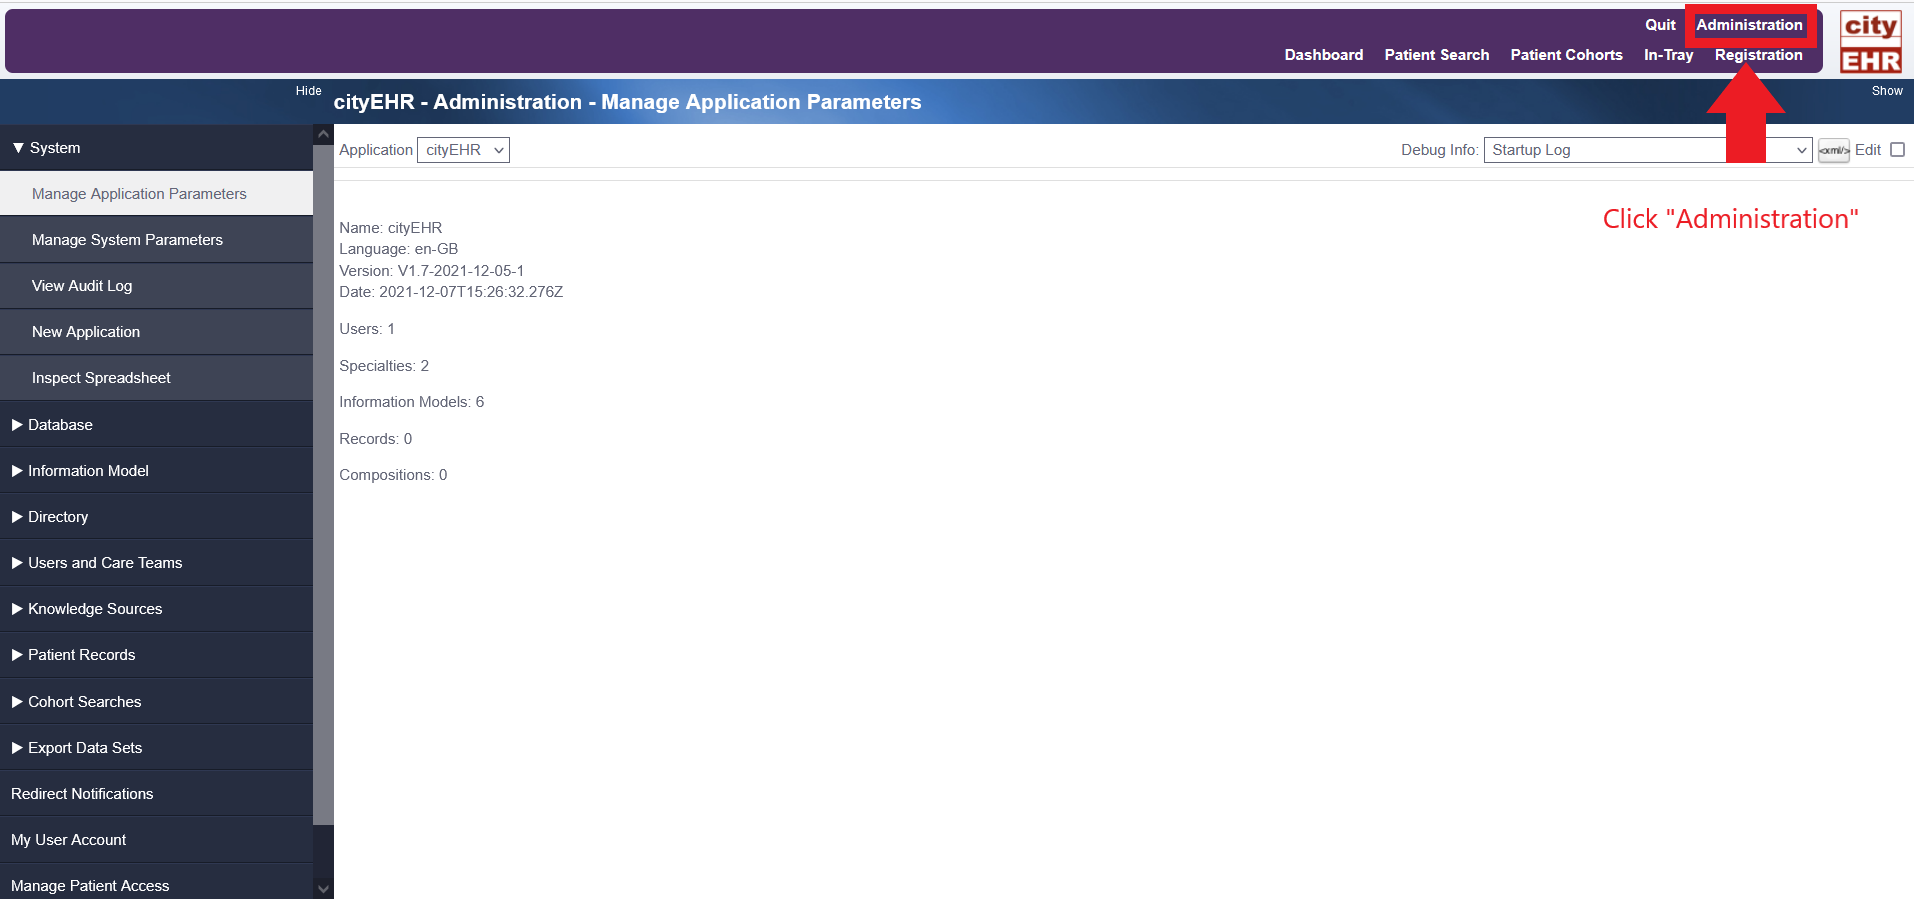
Primary Administrative page -
Now navigate to and click on “New Application” in the menu left of the screen. See below.
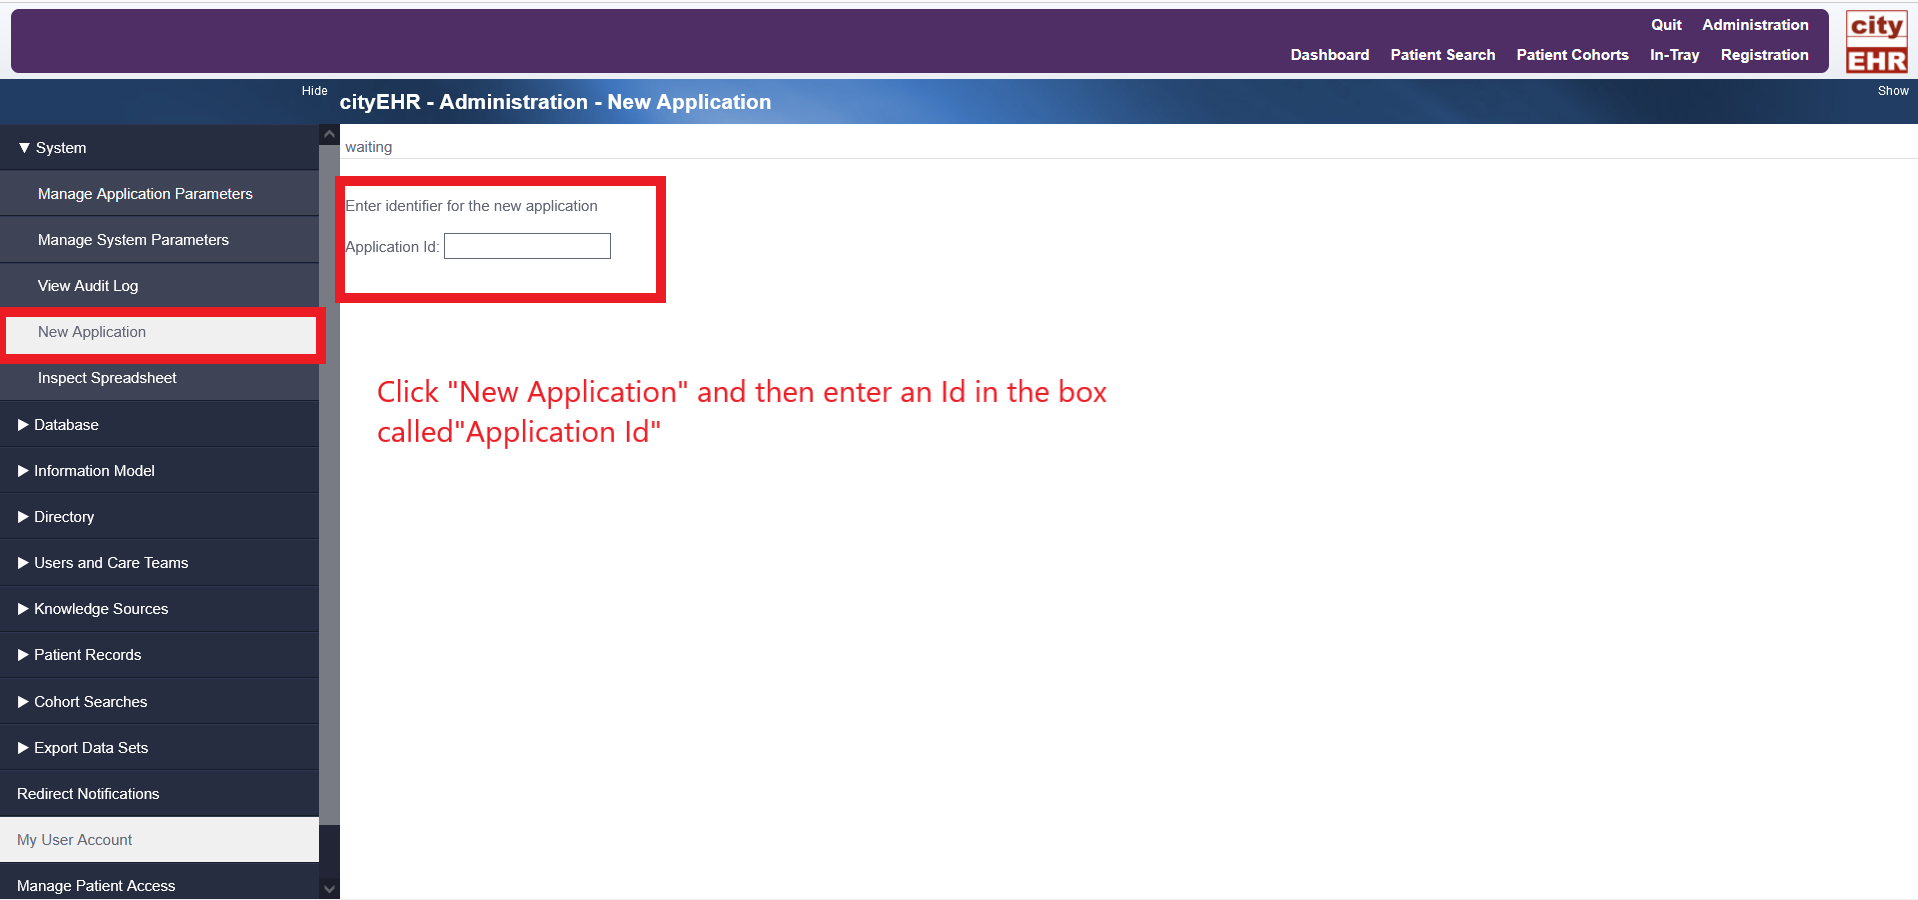
New Application page within Administration -
Now enter an Application Id. For this exercise, we will name the Application Id “myEHR”. Ids can be made up of upper and lower case characters a-z, digits 0 to 9, and dashes (-) or underscores (_). There cannot be spaces in the Id. Some installation Ids have configurations shipped with the cityEHR installation and if you pick one of those Ids it will install that configuration for you. if you pick a new Id, then it starts from scratch. myEHR will be our new Id for this exercise.
-
Now click the button that has a check mark to verify your application Id.
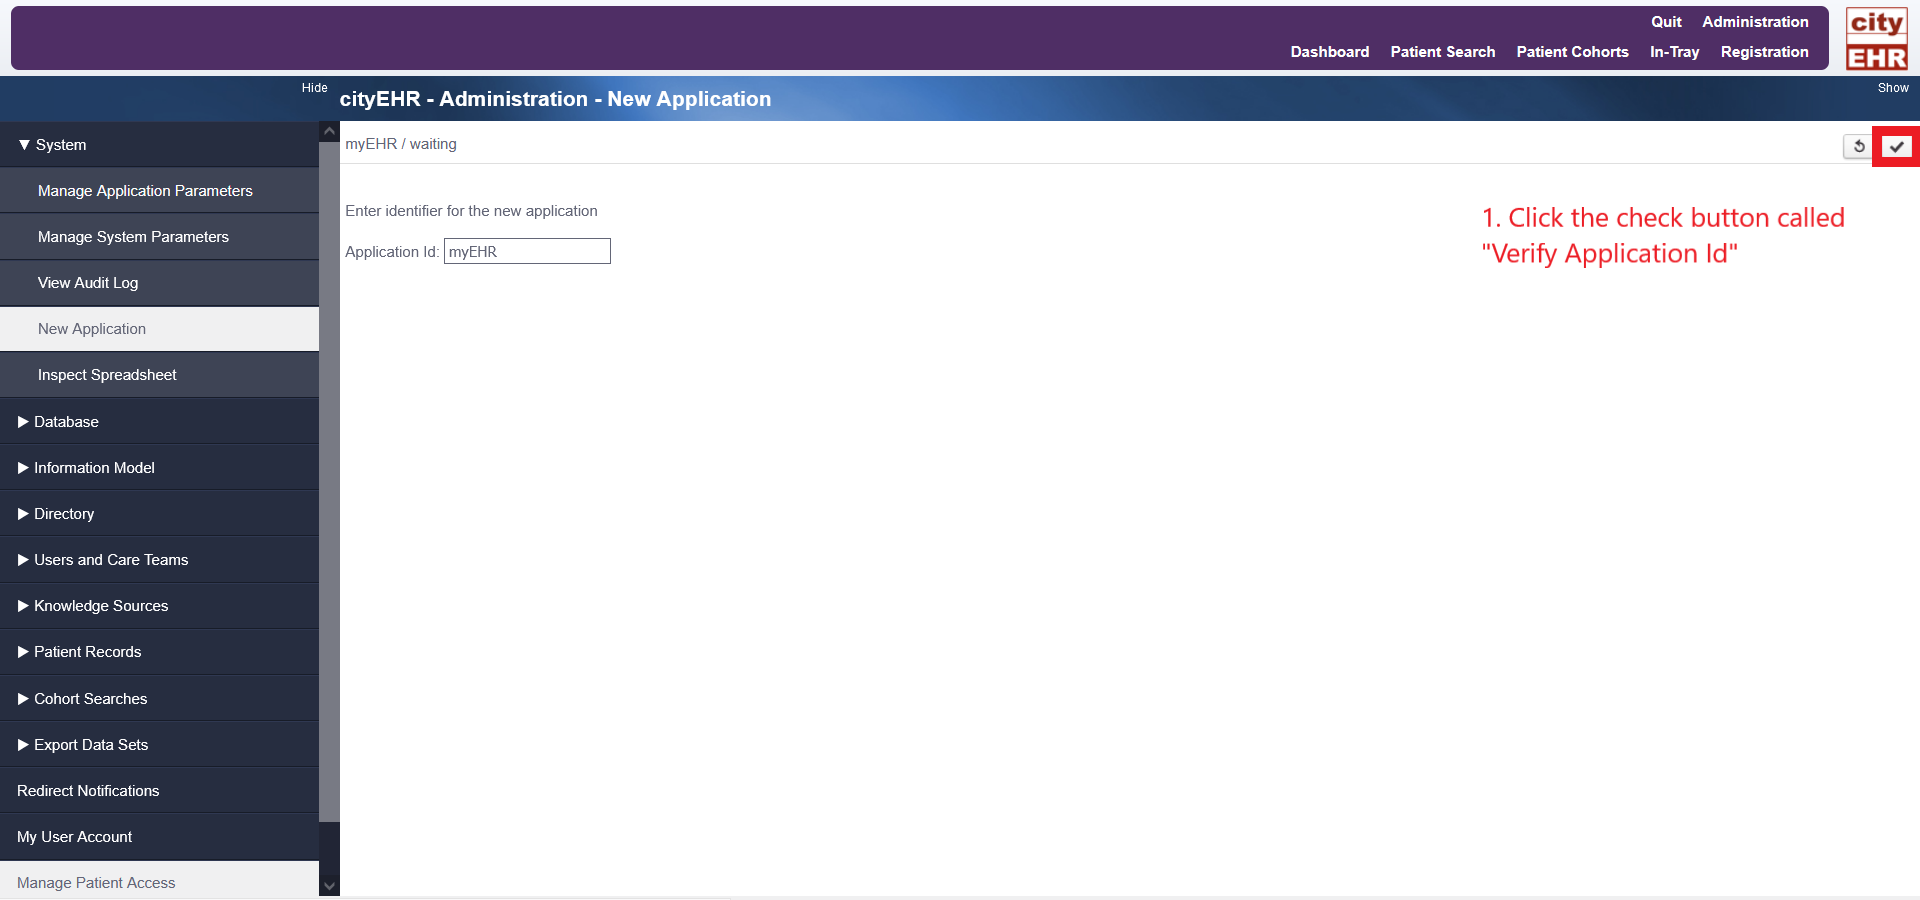
Verifying the Application ID -
If this ID has never been used before, your screen will look like this:
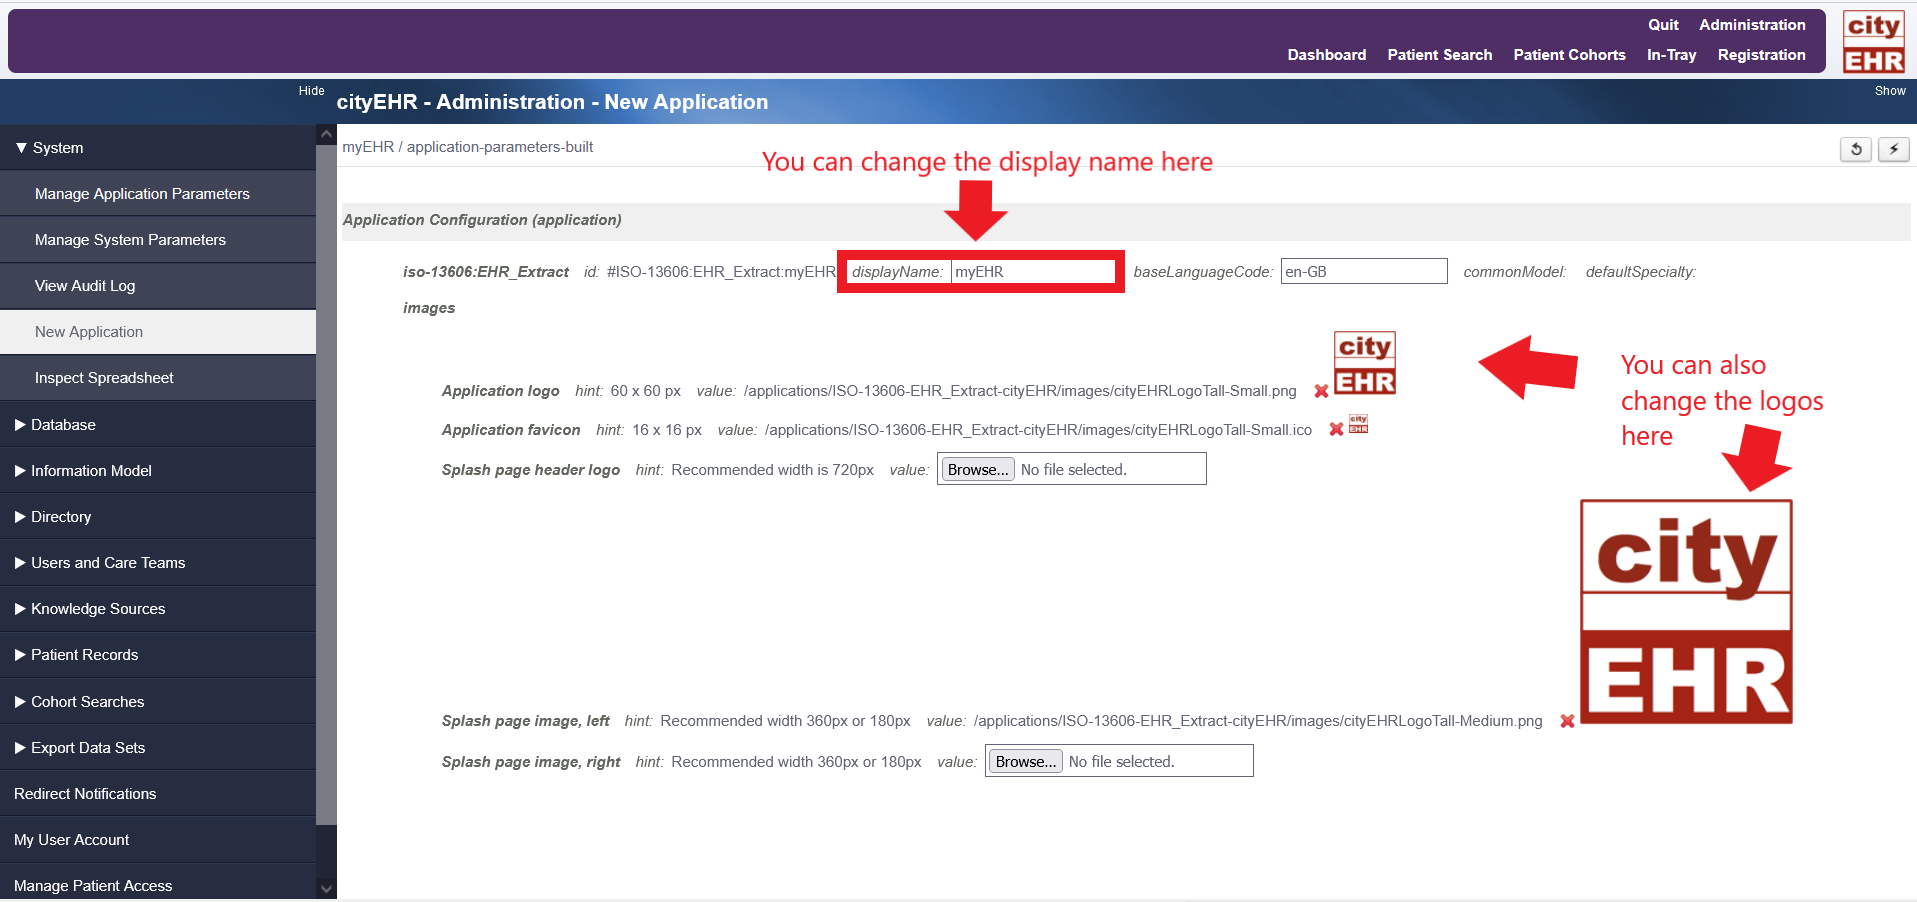
New application configuration -
You can change the display name of your new application and change the logos.
-
Once you are finished changing the display name and logos (if you want), you can now click on “Create New Application ID” identified by the lighting bolt. See image below.
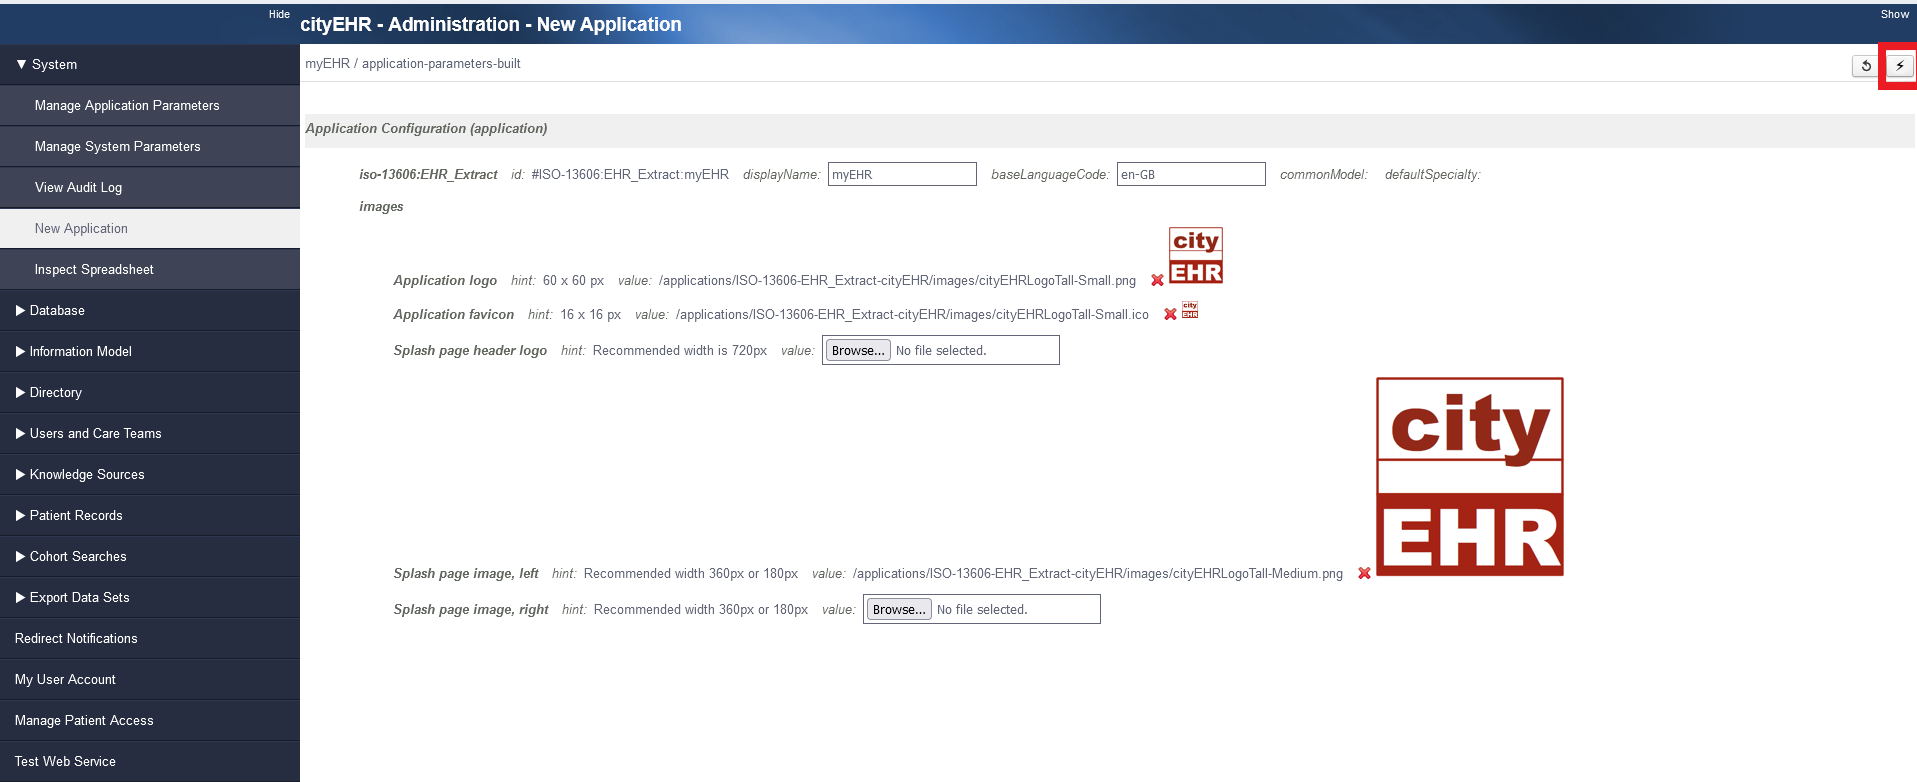
Creating a new application ID -
A Dialogue Box will appear. Click Confirm.
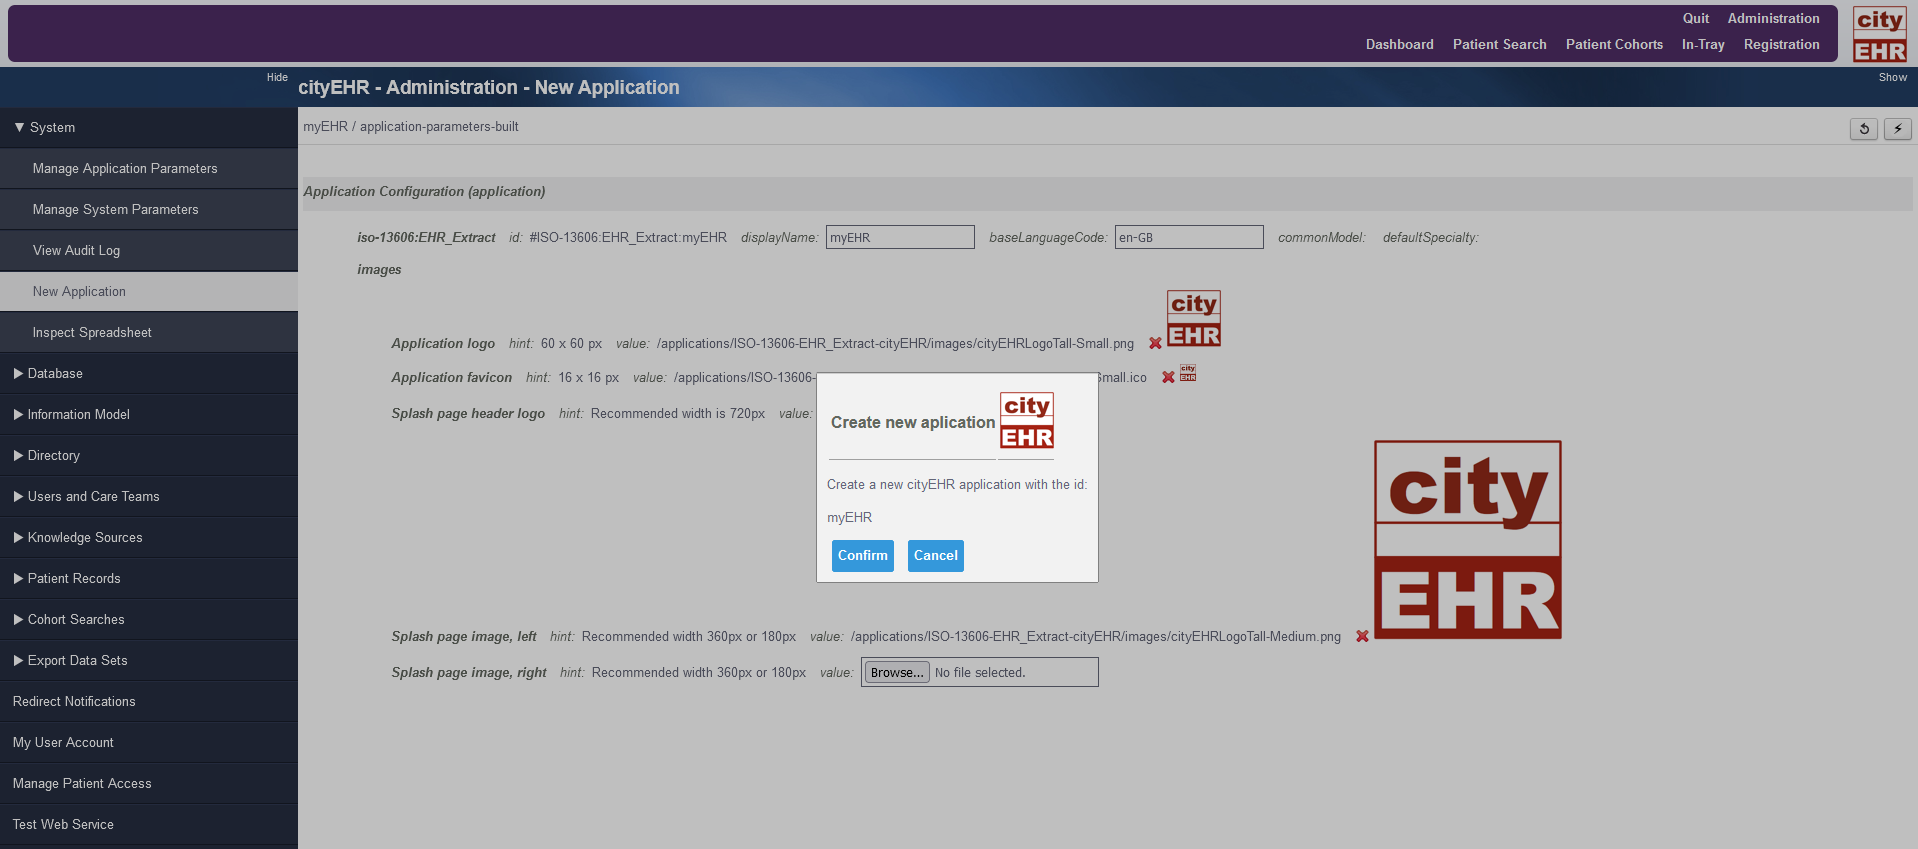
Dialogue box to create new application -
cityEHR will now create your new application. This may take a few moments. Your screen should now look like this, with three completed steps:
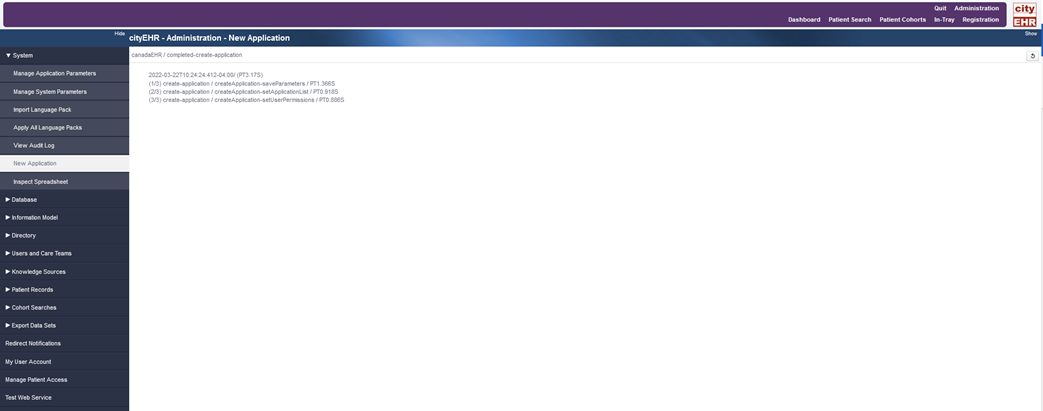
Page displayed when new application is created -
Once cityEHR has finished creating your application, navigate to “Quit” in the Purple Dashboard.
-
On the log-in page, you should now be able to select your new application in the drop-down menu.

Selecting alternative application on cityEHR log on page -
your application will be “empty” until you create, configure, and import an information model for your application. Navigate to section 13 called “Manipulating an Information Model” for instructions on how to do this.
Creating a Shipped Application
This section will teach you how to create an application that ships with cityEHR, such as Elfin or Elfin2. For this example, we will create an application with the id Elfin.
-
Navigate to Administration page and then to “New Application” under “System” in the menu on the left of the screen.
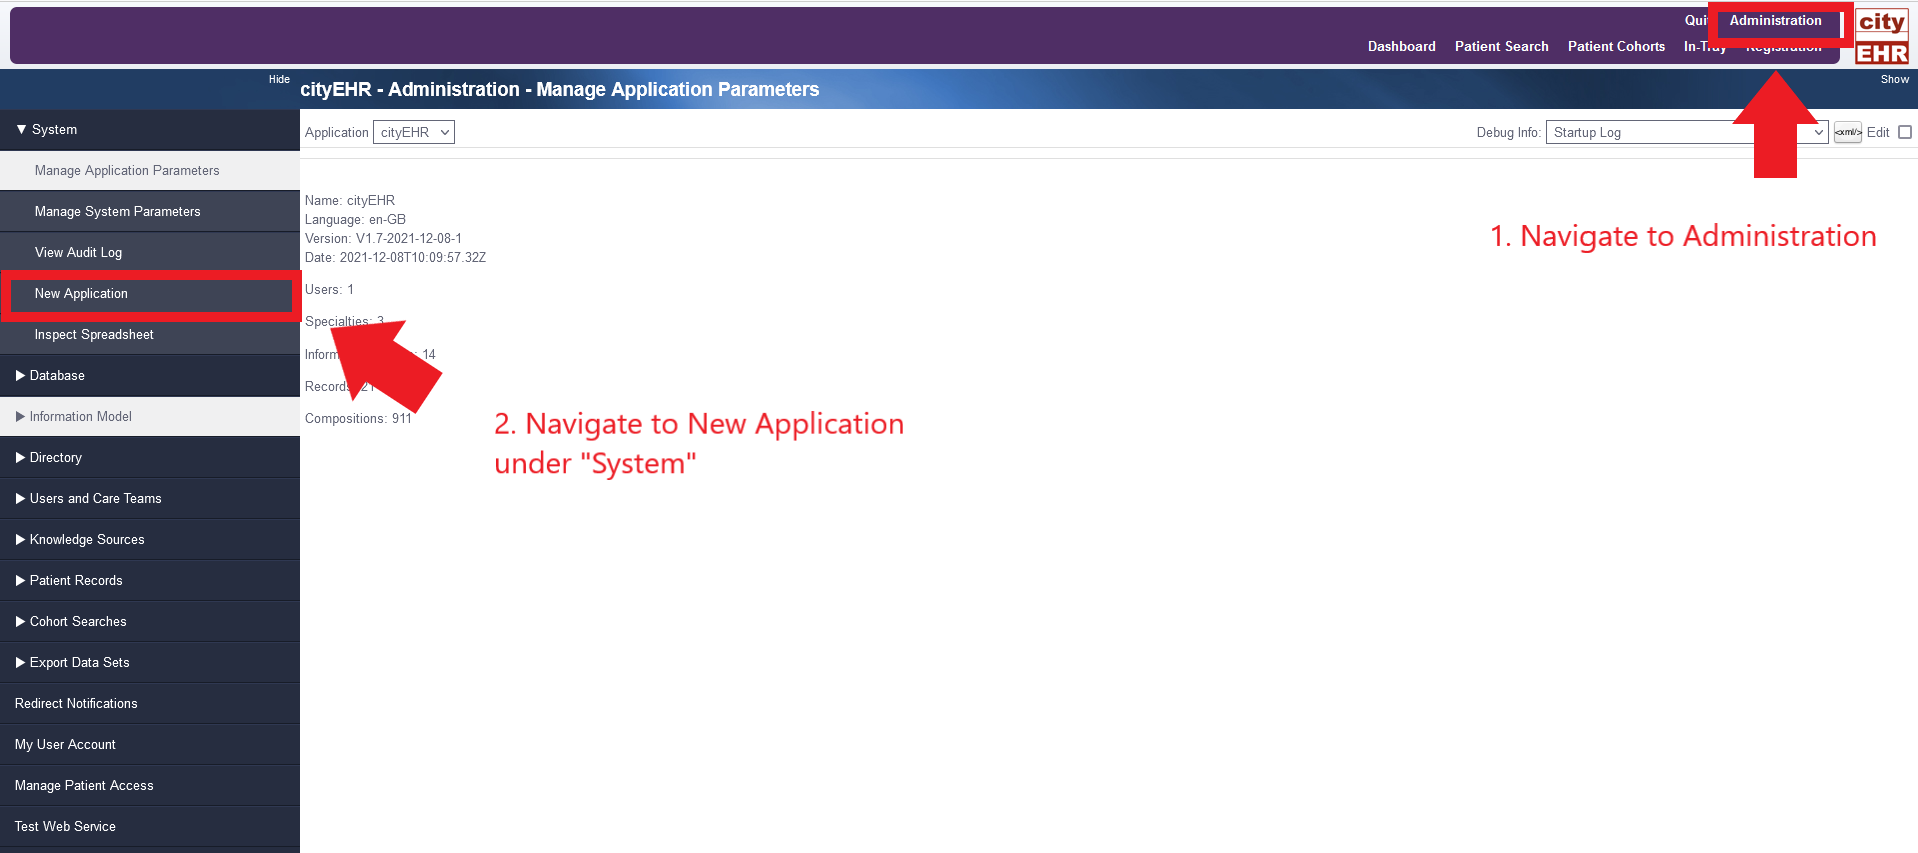
Navigating to New Application in Administration -
Enter the shipped application id “Elfin” or “Elfin2” or “Ponseti”. For this exercise, enter the application ID “Elfin2”.
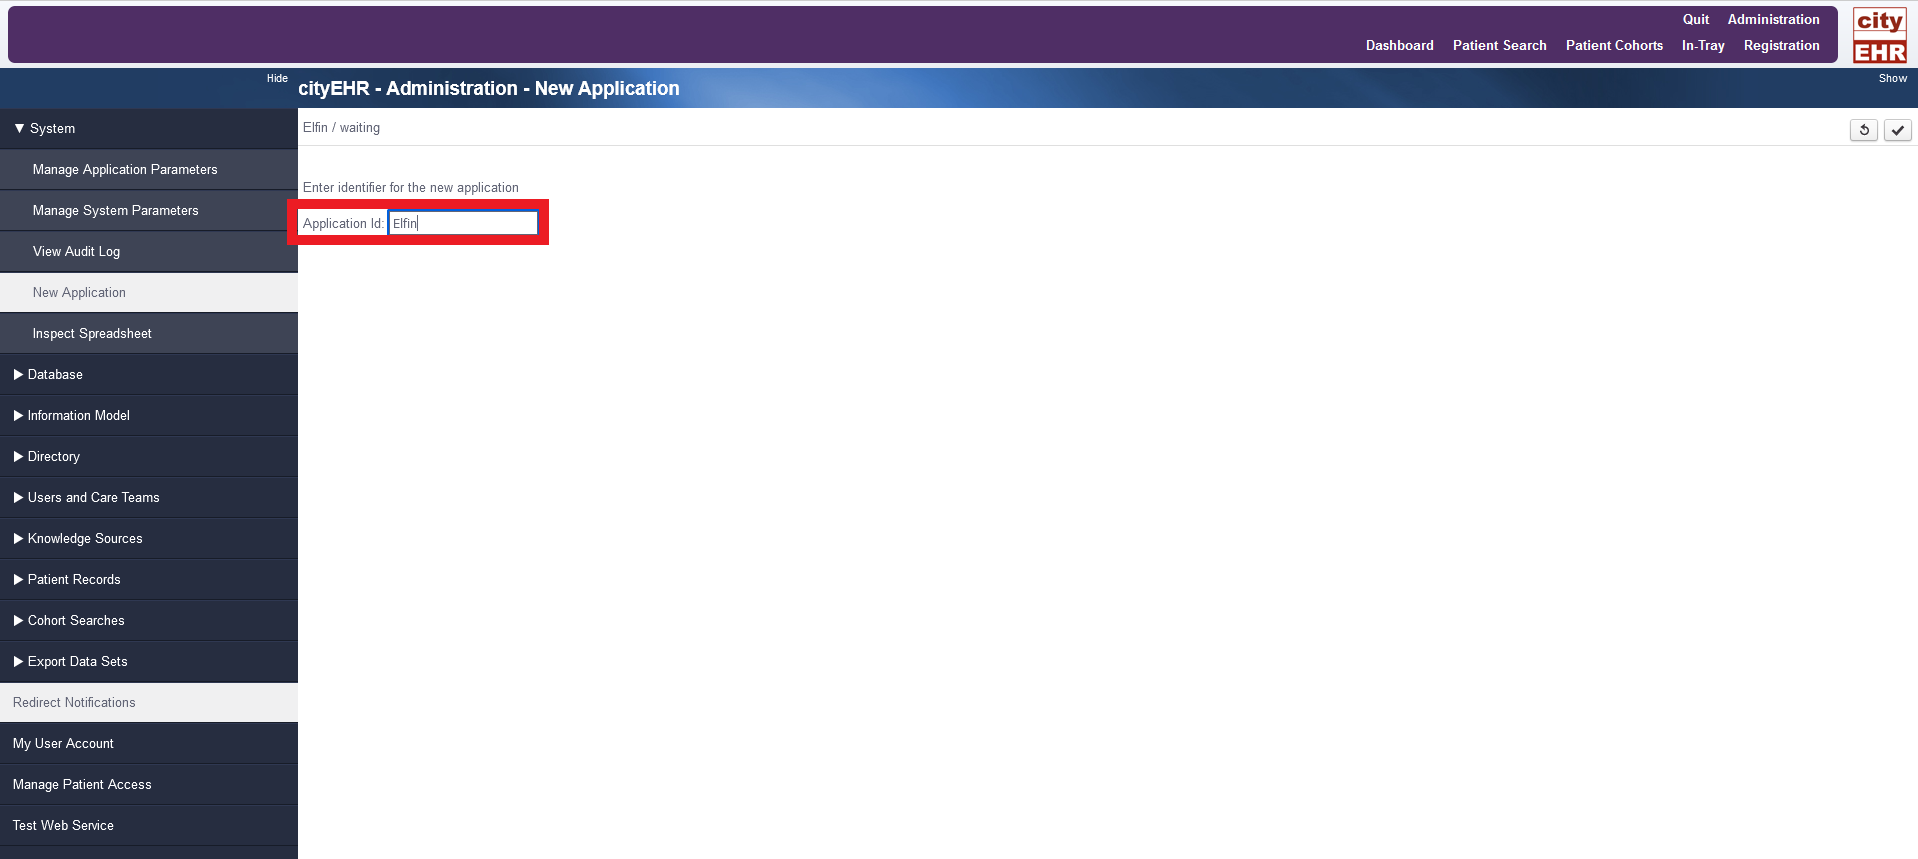
Entering the shipped application name "Elfin2" -
Click “Verify Application Id” (the check mark icon) in the top right of the display screen.
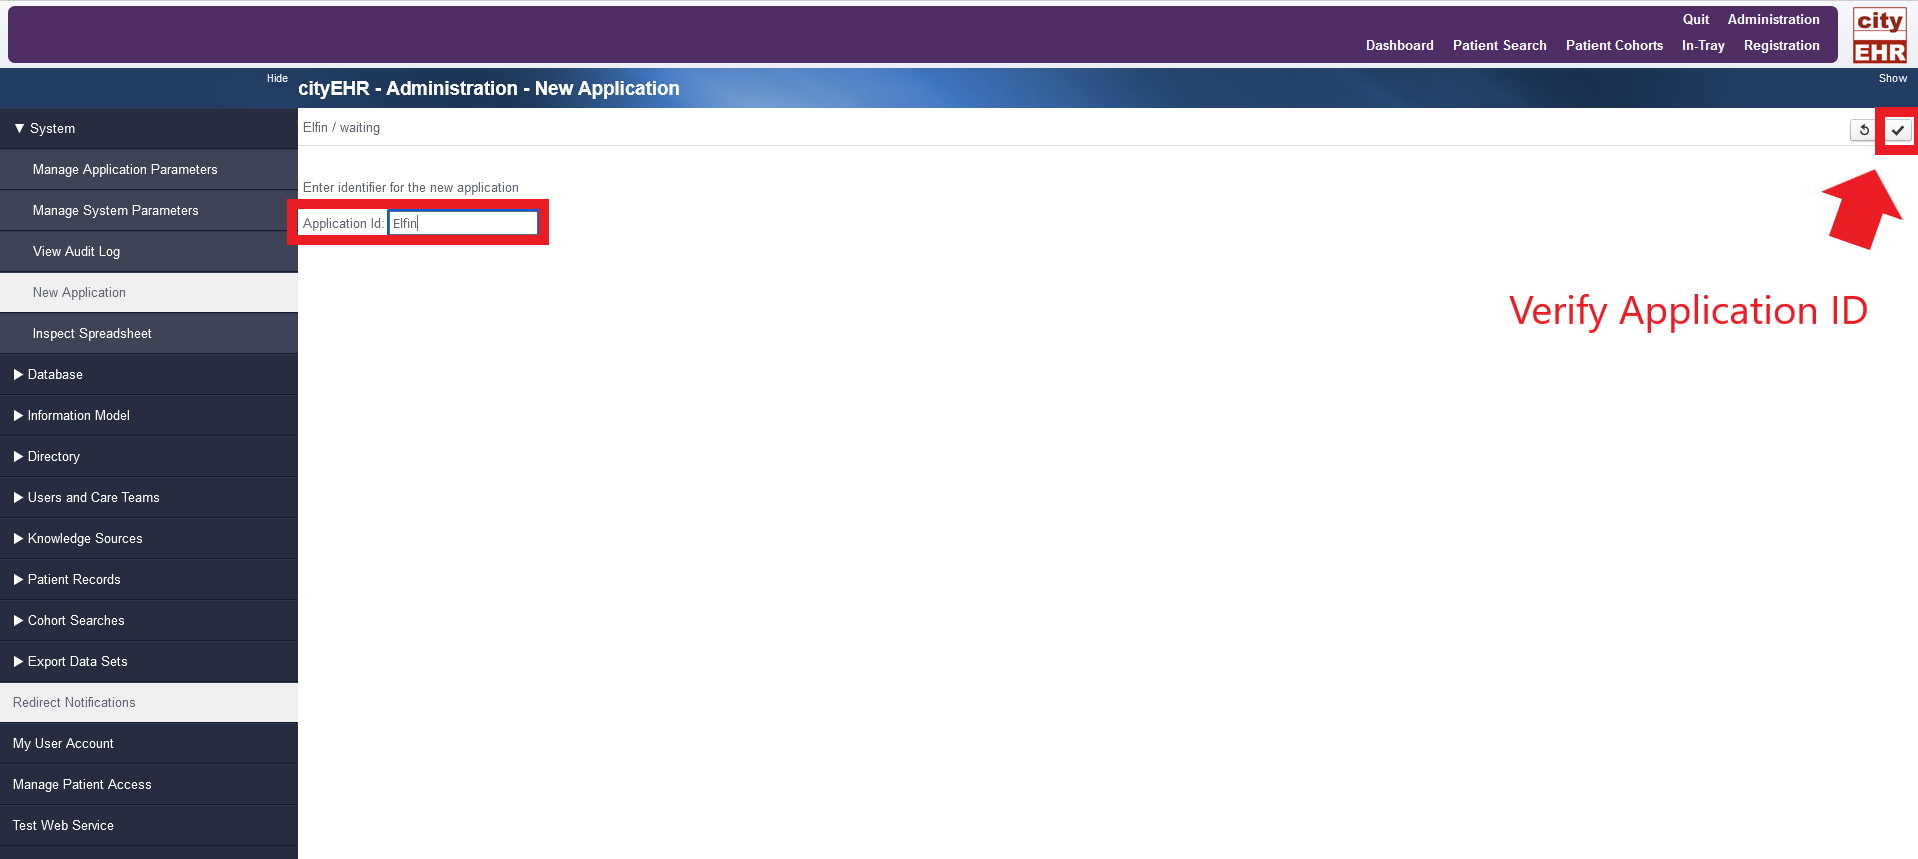
Verifying the new application "Efin2" -
Your screen should now look like the one below if you have typed in Elfin2.
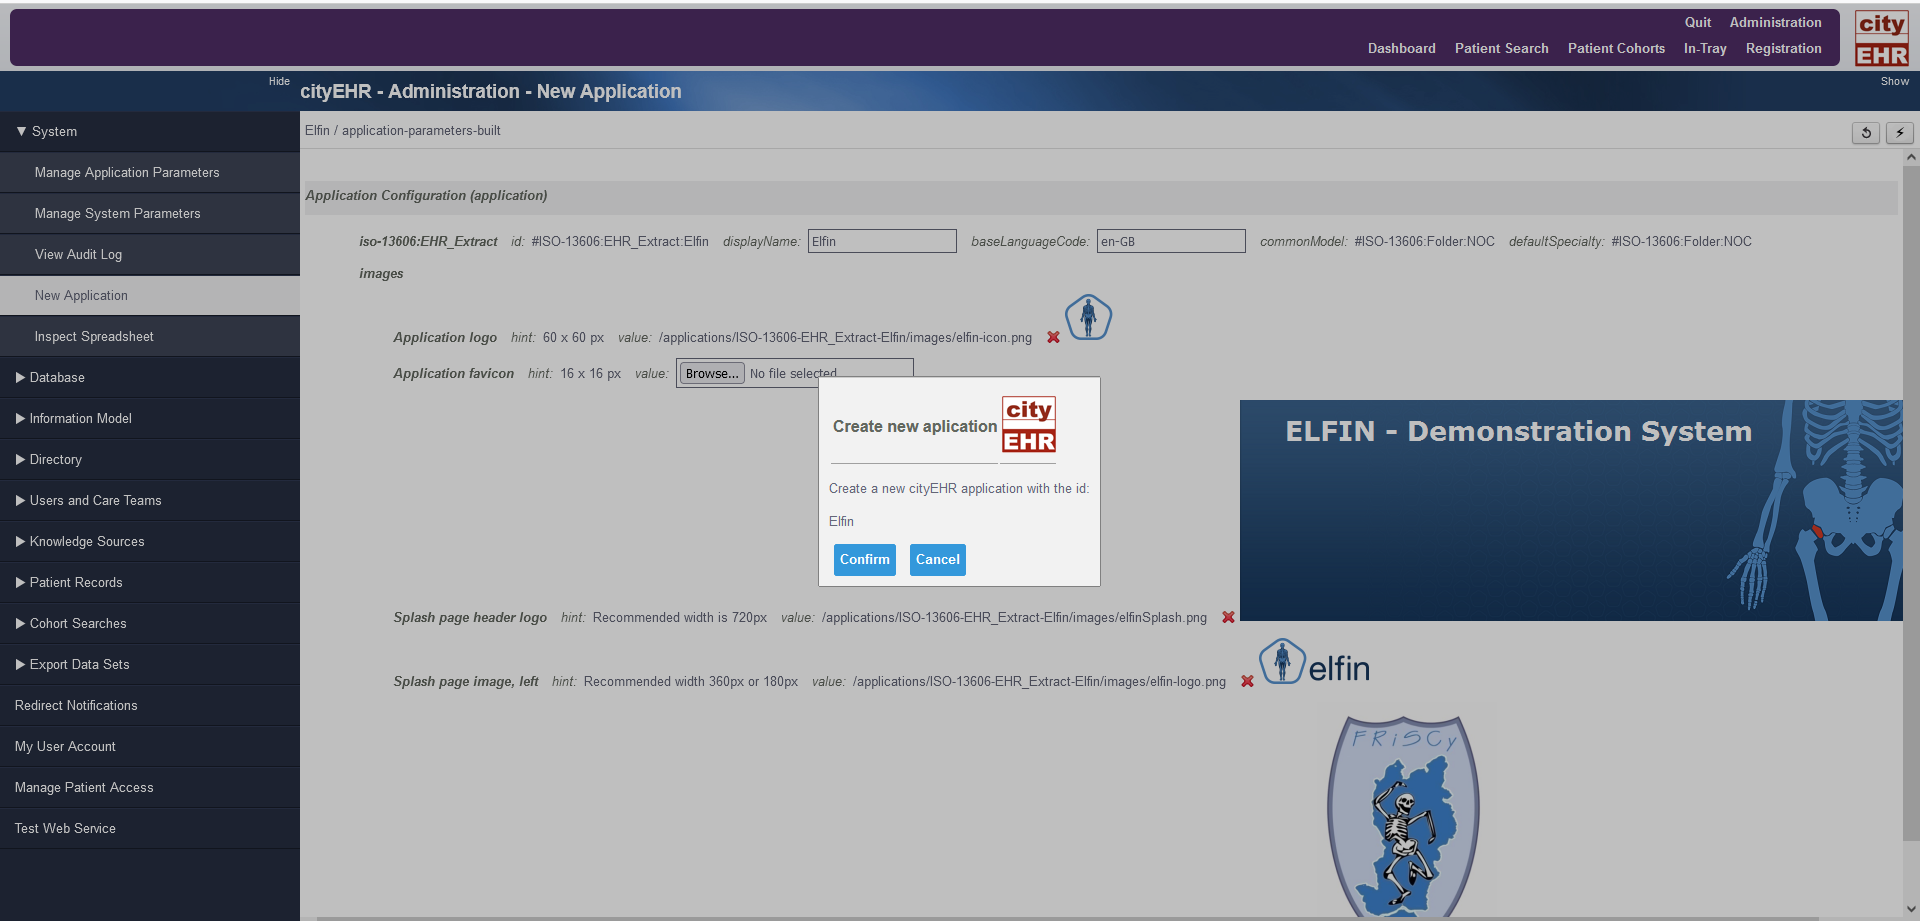
Configuration page and dialogue box for Elfin -
If you have typed in “Ponseti” as the application ID, your screen will look like the one below.
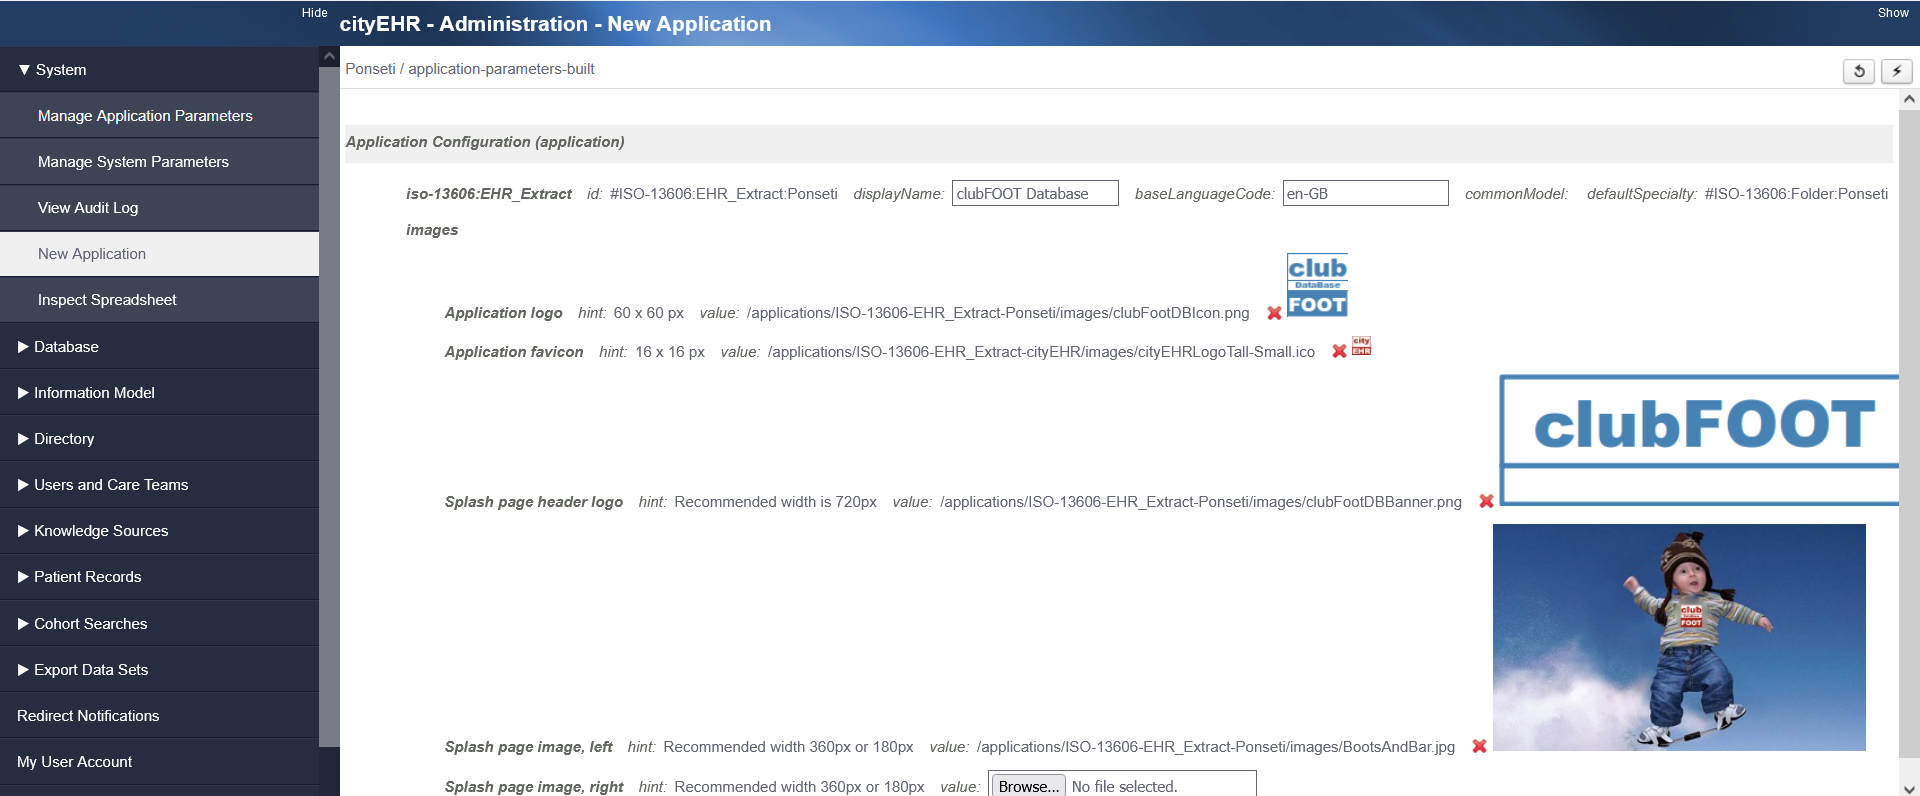
Shipped application, Ponseti configuration page -
These are two applications that ship with cityEHR that can be created in your local database.
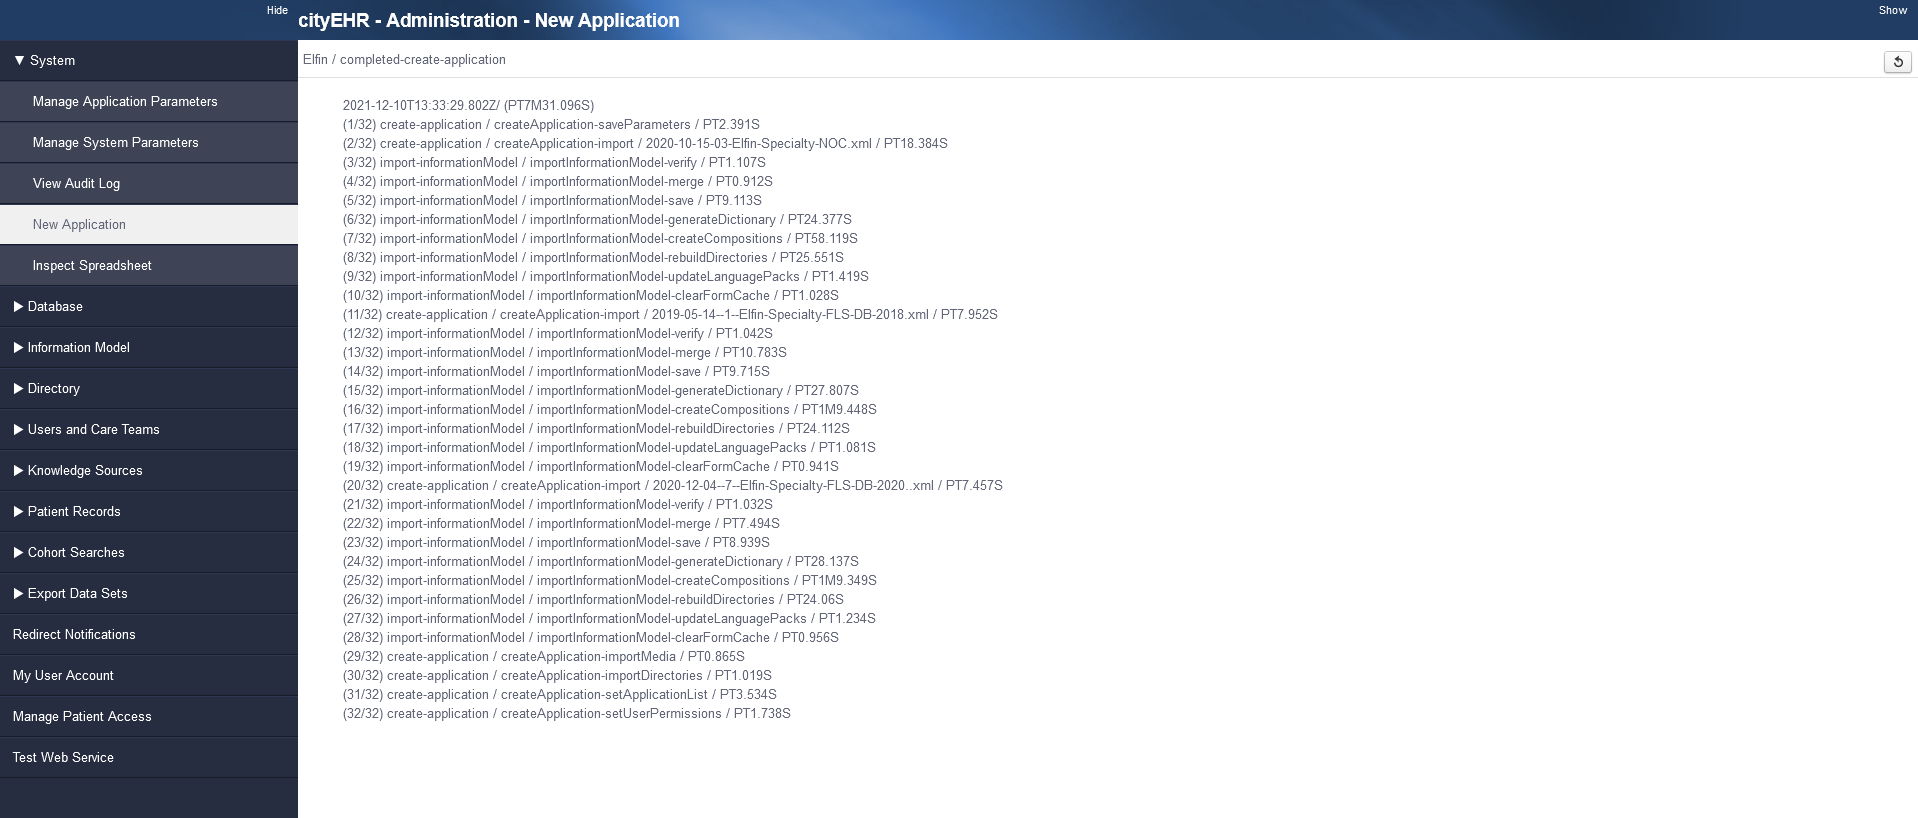
Page displayed when new application (Elfin) is created -
Now click “Create New Application” (lightning bolt icon) and wait for it to load. This may take a few minutes.
-
Once it has finished creating, navigate to Quit in the Purple Dashboard
-
You should now be able to select “Elfin 2” as an application from the log-in page
-
Click Start and you will be navigated to the start-up home page for Elfin2.