Manipulating the Information Model as a Spreadsheet
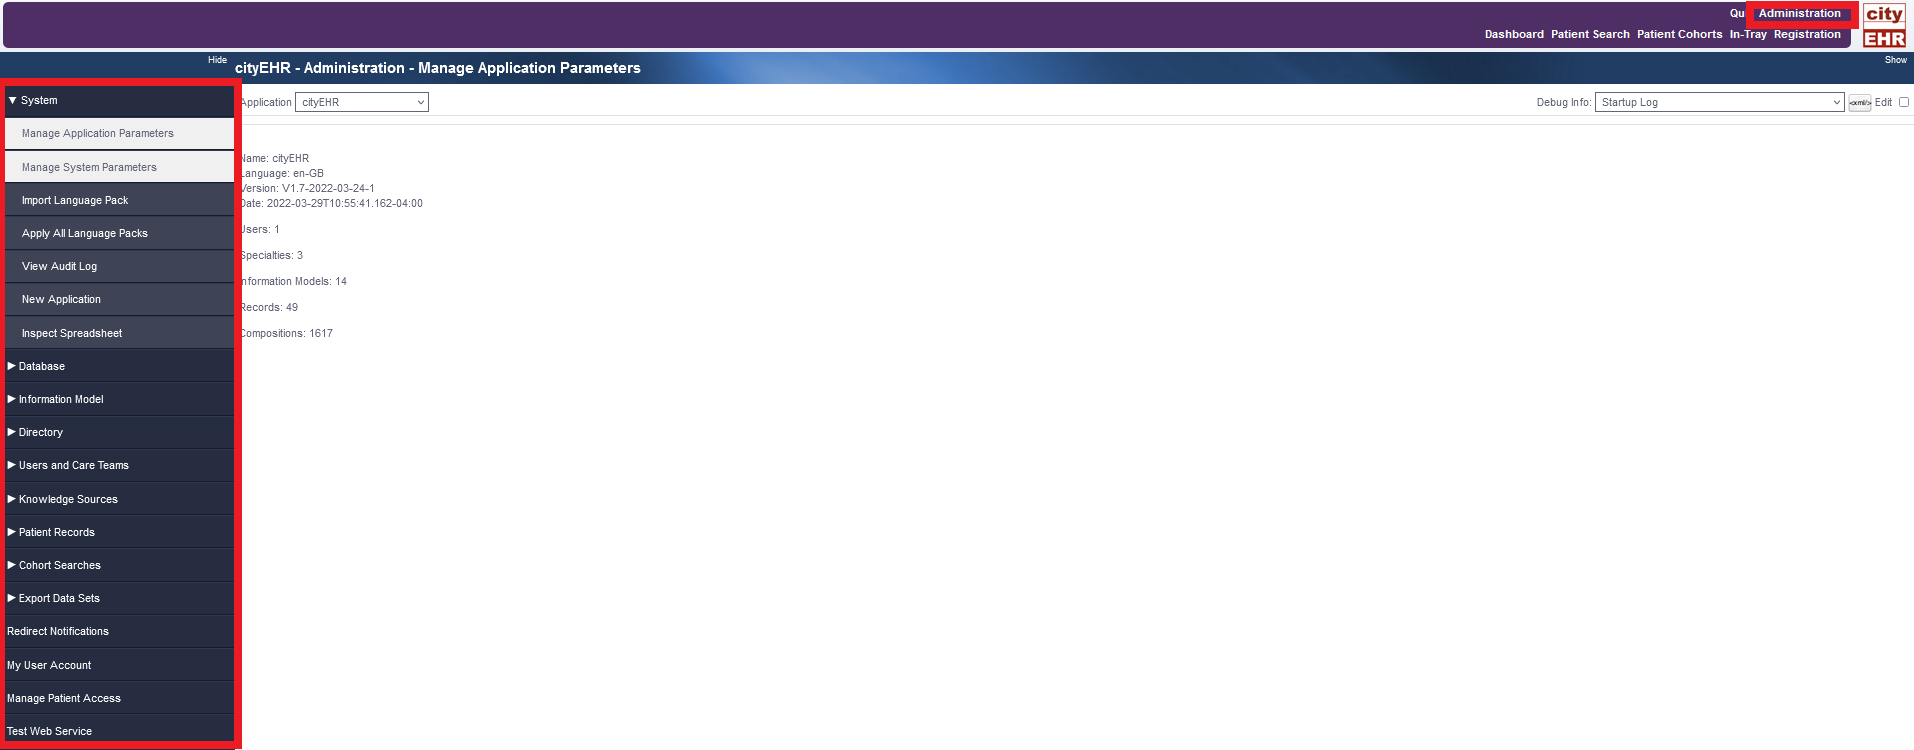
If you have administrative access, your Administration Page, Figure 109.

Manipulating the information model as an ontology is quite difficult and it is easy to make a mistake. There are several underlying reasons for this:
-
the atomic assertions in an ontology mean that two or three related assertions need to be made to specify fairly simple associations (for example, to create a section which has a title and two subsections will take at least six separate assertions)
-
ontologies are used to classify and reason, but are not good for constraining users in the models they can create - we can easily find that a model is inconsistent, but its not so easy to prevent users from creating an inconsistent model in the first place.
To get around these issues, and to create tooling that clinical users are able to work with more easily, the information model for cityEHR can also be created and modified using a standard spreadsheet package.
The open source Open Office spreadsheet is used to create a model in a way that is easier to control, in terms of the constraints that can be applied.
When the spreadsheet model is ready it is then saved as an XML file and is transformed from that to an ontology in OWL/XML format as it is loaded to the cityEHR.
-
Using Open Office, open the file cityEHR - Specialty - Feature Demo.ods in the information model directory of the materials
-
This is an open office spreadsheet set up with a cityEHR information model. It has about 20 sheets (see the tabs along the bottom left) and you will see that some of these correspond to components in the ISO-13606 model - Folders, Sections, Entries, Clusters, Elements
-
Other sheets correspond to particular types of Composition - Views, Forms, Letters, etc
-
We are going to use the spreadsheet to add our own new form to the information model.
-
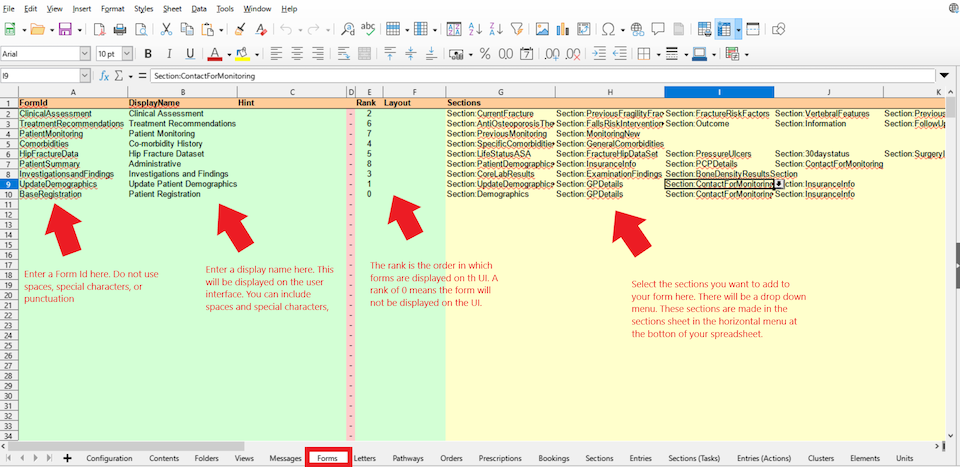
To do this, move to the Forms sheet and enter details of the new form on one of the blank lines (don't insert a new line, just use one of the existing blank lines - the sheet should be protected to prevent you from inserting or deleting lines).
-
In the column called Form Id enter an identity for your form - this must use only the characters a-zA-Z0-9 (i.e. no spaces or special characters, including dashes). The form will use the Display Name you enter in the second column - this is the title of the form and can contain any characters, including spaces and special characters. We will set our Form ID to Test Form and Display Name to Test Form so that it is easily identifiable in the interface.

Specialty - Feature Demo.ods Information Model -
The Rank column determines the order in which your form will be listed, relative to the other forms already defined - enter a low number to see it near the top of the list or a high number to see it at the bottom
-
The fields that are buff coloured and headed Sections are where you can select the sections that will appear on your form-you pick these from the drop down lists in each field. Sections will appear on your form in the order in which they are listed here.
-
The sections in those drop down lists come from the Sections sheet. You can move there to see how sections are defined in a similar way to Forms. You can add a new section here and add Entries to it, in the same way that you added sections to a form.
-
In the Entries sheet you can add new entries, each with a list of elements as contents. Finally, you can defined elements on the Elements sheet, with their data types, including lists of enumerated values, if required.
-
Once you are happy with your changes save the spreadsheet under a new name (its important to do this in case you have made a mistake and need to revert to the previous version).
Note: skip the next steps if you are instructed by your workshop organiser to load models directly as a spreadsheet file.
-
Having saved the new spreadsheet you now need to save it again, but this time in XML format. To do that use Save As and select in the File type dialogue at the bottom of the screen for Microsoft Excel 2003 XML (.XML) - note that this option may be scrolled off the bottom of the list of file types when you first select the list.
-
The save as XML will take about 30 seconds. Once successfully saved, make sure you close the spreadsheet since it is now in XML format and any additional changes you make to it will not be properly recorded in the spreadsheet. (to make further edits, reopen the .ods file and re-save as XML when you are done).
-
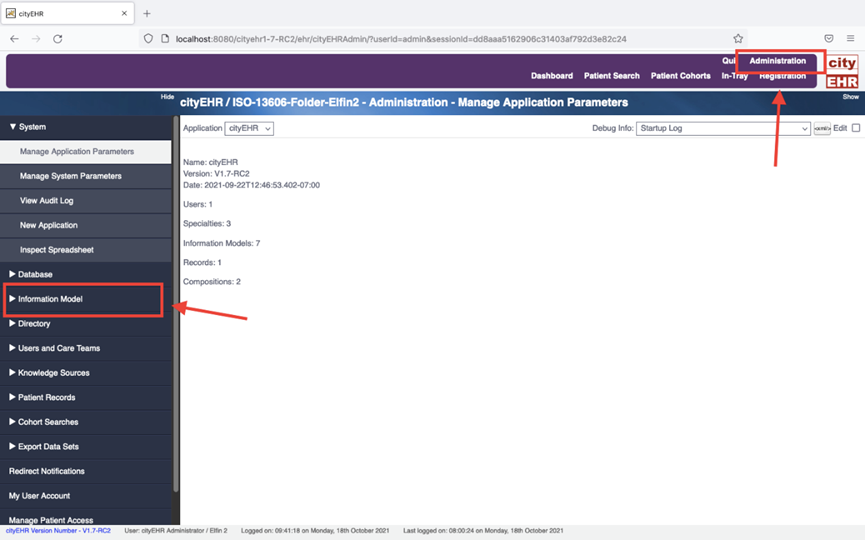
Back in the cityEHR interface, navigate to the Admin page and select Import Information Model from the list of selections on the left.

Navigating to the Information Model page -
Browse to the information model spreadsheet you have just created and press to open it. The file will now be 'uploaded' to the cityEHR server. Once that has completed, an Import button will appear on the right of the display screen.
-
Press the import button and wait for the model to import to the database. This may take between 20 seconds and a couple of minutes, depending on the power of your machine.
-
Once completed, you will see a summary of all the processing that has been made, including lists of an errors found in your model.
-
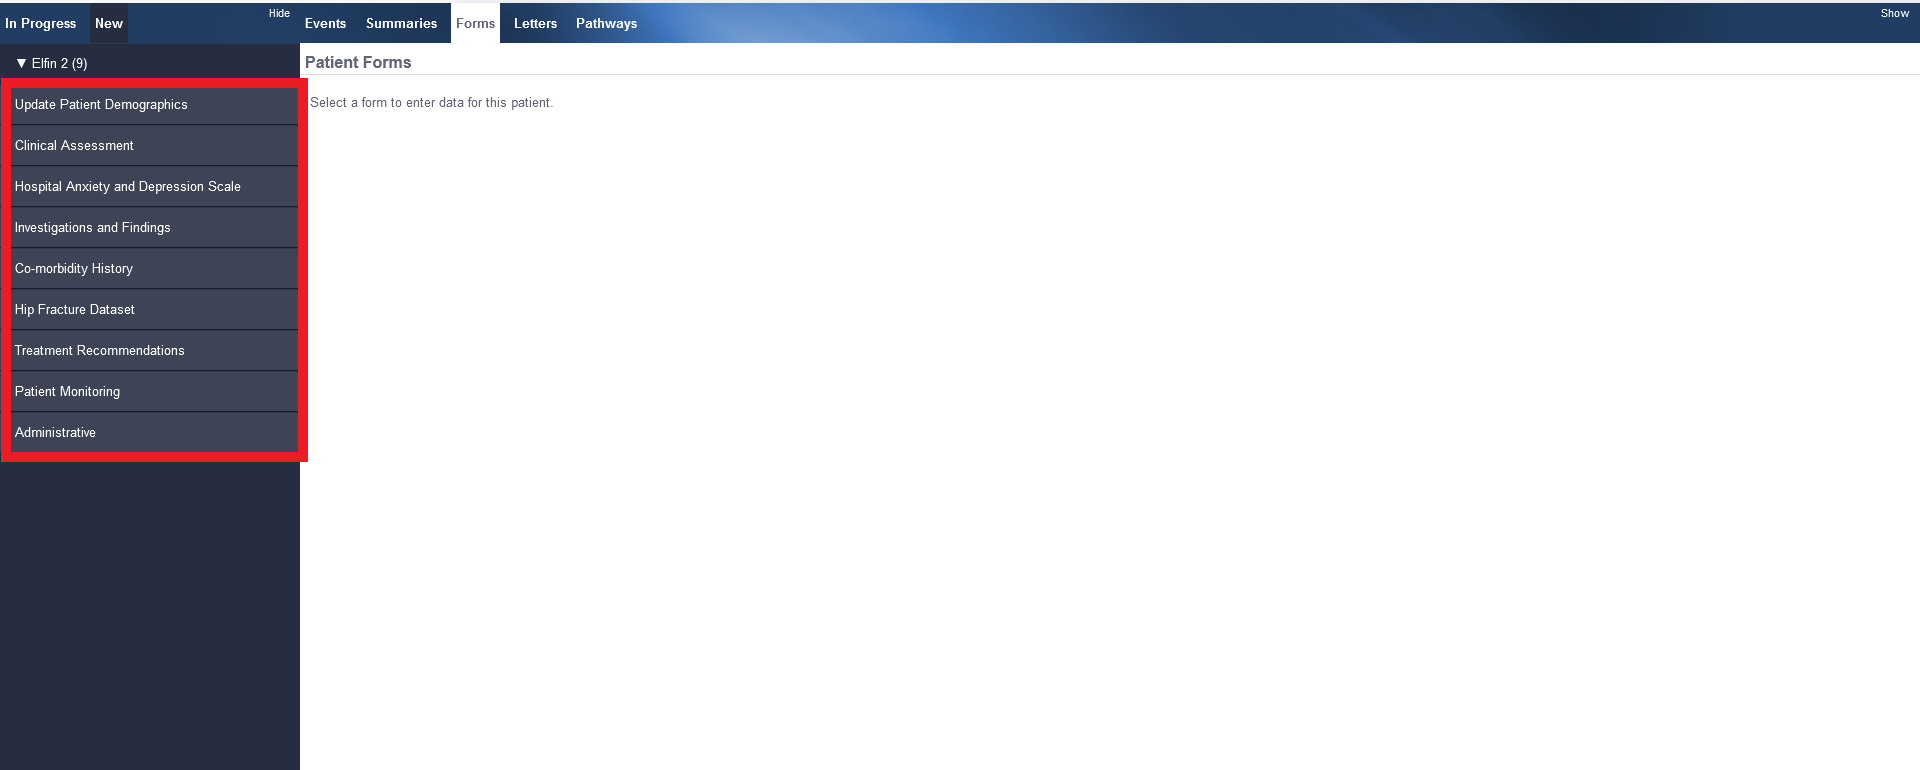
If the model loaded successfully you can now navigate to the Patient Search page, find a patient, select Forms and you should see your new form available in the list of forms to create.

Forms page displaying new form