Creating Test Patients
To explore cityEHR further, you will need a larger sample of test patients. These can be generated using the functions available on the Administration page, which is accessed by clicking the Administration button in the main system menu (top right of the page).
-
On the Administration page, select the Database option from the left-hand menu, and then click Generate Test Data.
-
Click the Browse button to load a file containing a sample patient record.
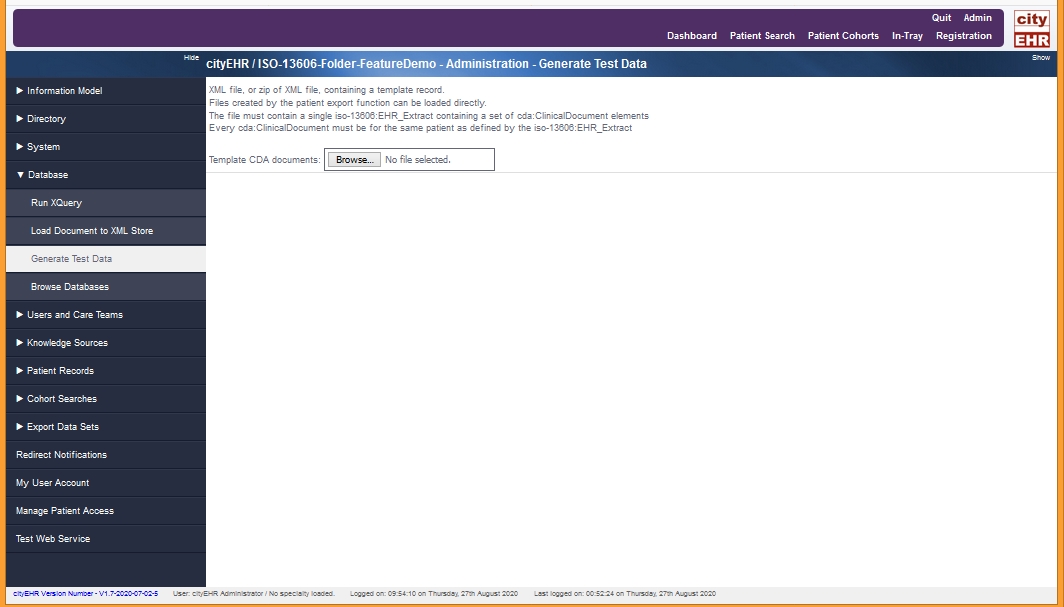
Generating Test Data -
Navigate to your downloaded User Resources folder and select the file named EHR_Extract-TimothyAbernathy.xml. (You can open this file separately using a text editor if you wish to view its contents.)
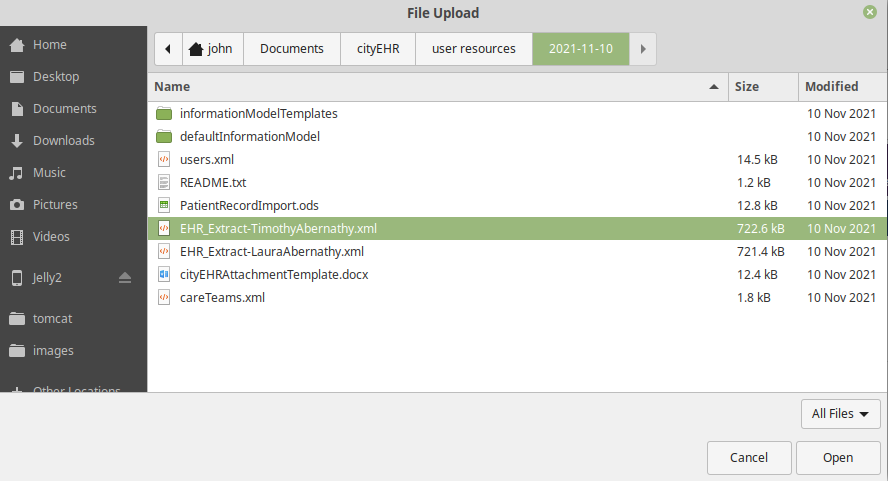
Locating “EHR_Extract-TimothyAbernathy.xml” in User Resources Folder -
The User Resources folder was created when you downloaded resources in the verifying the Installation section.
-
After uploading the EHR_Extract-TimothyAbernathy.xml file, you will see a range of options for generating test data, as shown below:
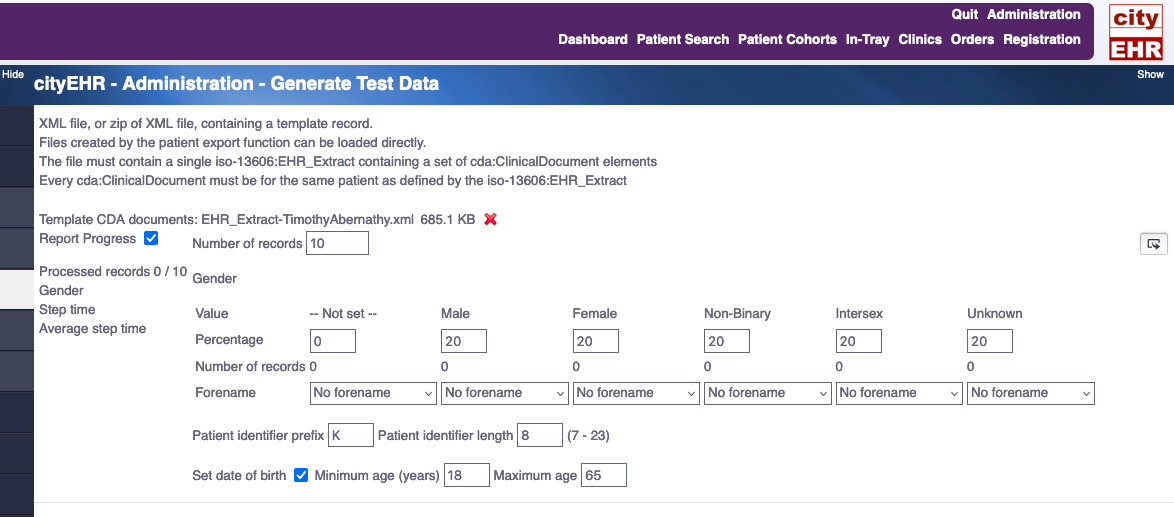
Generate Test Data Parameters, Following File Upload -
By default, the system generates 10 test records evenly split between male, female, and other gender categories, aged between 18 and 65.
-
To customize, adjust the percentages in the gender columns (e.g., set Male and Female to 50% each and the others to 0%). Ensure the percentages total 100%; otherwise, an error message will appear. Optionally, generate 100 records instead of 10, but note that it may take up to 5 seconds per record, potentially exceeding 5 minutes for 100 records.
Note: The Generate button will only be active when the percentages across all categories add up to 100%
-
Set the Forename selection to Male Forename and Female Forename in their respective columns.
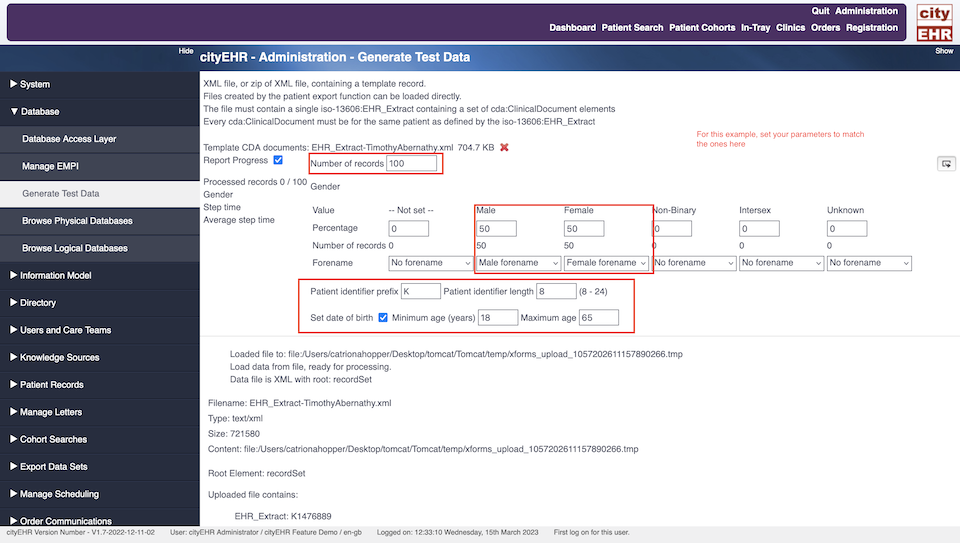
Generate Test Data with Parameters Set -
Once the parameters are configured, click the small Generate button on the right-hand side to create the test records. This process may take some time to complete.
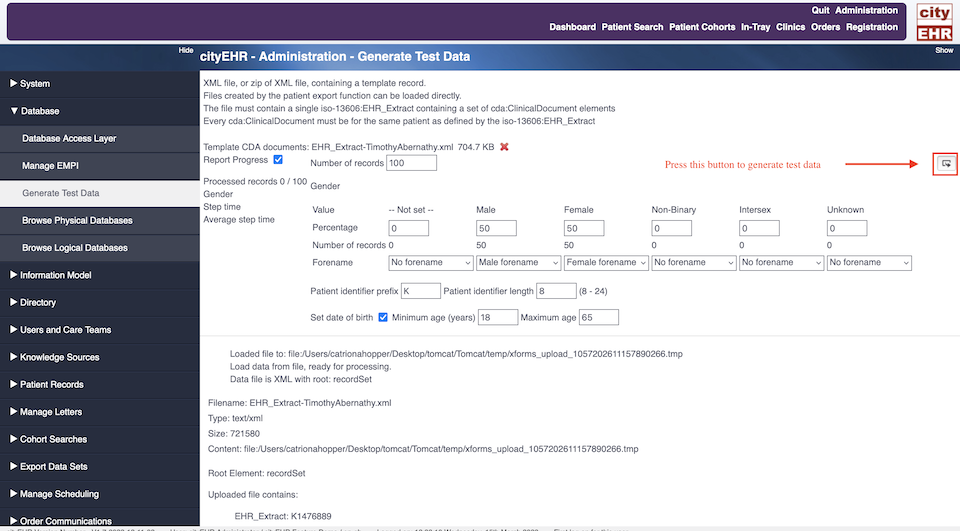
Generating Test Data -
After the records are generated, your screen will display a confirmation, as shown below:
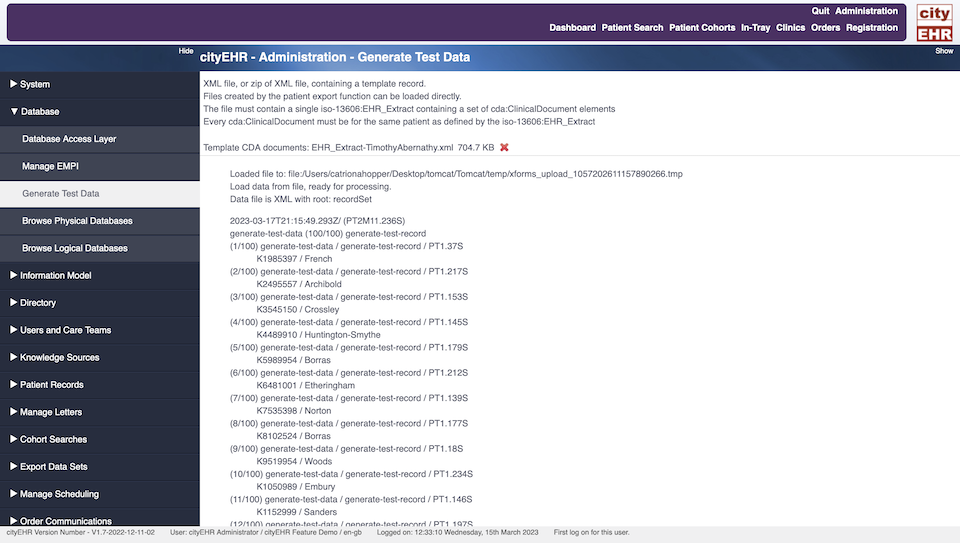
Generating Test Data Completed -
Click the Dashboard button in the main system menu to leave the Administration page. The Dashboard will now reflect the newly loaded records.
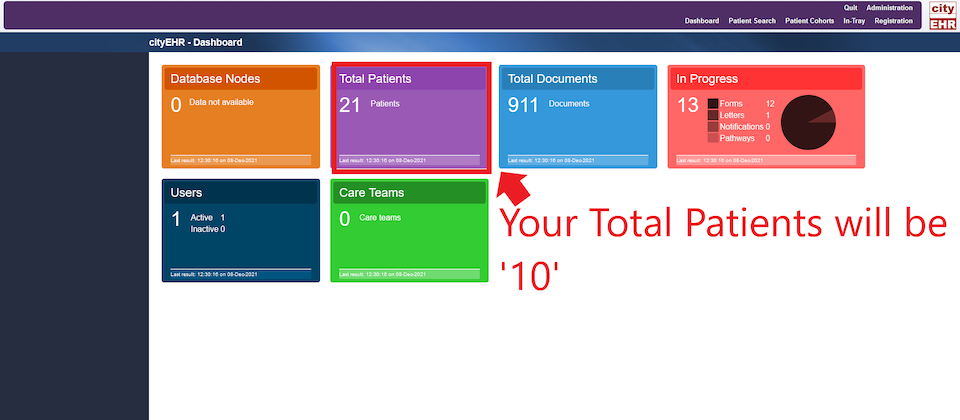
Updated Dashboard with Generated Test Data